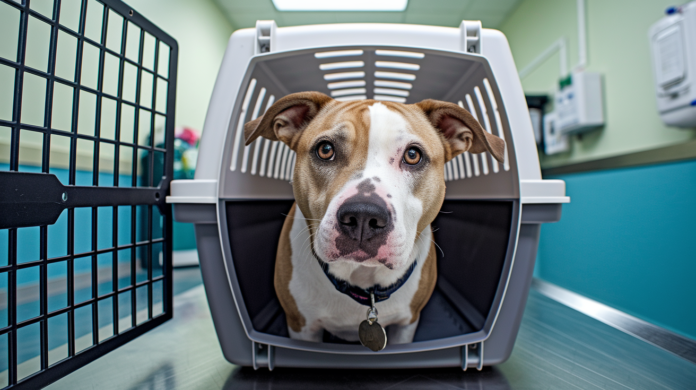

What if the carrier, not the clinic, is the main reason your pet panics at the vet?
The right carrier can make trips calmer, quicker, and safer.
This post gives simple, proven tips to pick the right size and style, add features that cut fear, and train your cat or dog so vet visits are less stressful.
You’ll get clear steps on measuring, ventilation, secure closures, car safety, and a 2-week acclimation plan you can start today.
If that feels like a lot, start with size and airflow. Those two change behavior fast.
Choosing the Right Carrier for Vet Visits

Pick a carrier that lets your pet stand, turn, and lie down without cramping. Measure your cat or dog from nose to the base of the tail, then add 2 to 4 inches for length. For height, measure from paws to the top of the head when standing and add 2 to 3 inches. Too small creates panic. Too large lets pets slide during turns, which amps up fear.
Cats need carriers with top and front openings so they can be lifted gently or examined while staying partly inside. Dogs do better with front-loading models unless they’re very small or anxious. Hard-sided carriers work for nervous or escape-prone animals because they hold shape and prevent breakouts. Soft-sided carriers suit calm pets and fold flat for storage. Always check the weight limit printed on the carrier. A 25-pound dog needs a carrier rated for at least 30 pounds to account for movement and material stress.
Ventilation matters more than most owners realize. Look for at least four mesh panels or vent slots positioned on different sides. Airflow keeps pets cool and lets them see out, which reduces panic. Security features include two-point closures, like a zipper plus a snap, or locking clips for carriers over 25 pounds. Metal hardware lasts longer than plastic buckles under stress.
Key carrier selection criteria:
- Size: Interior height equals standing height plus 2 to 3 inches, length equals nose to tail plus 2 to 4 inches
- Ventilation: Four or more mesh or vent panels on multiple sides
- Entry points: Top and front access for cats, front access for most dogs
- Material: Hard-sided for anxious pets, soft-sided for calm animals and tight spaces
- Security: Two-point closure or locking clips, reinforced seams for pets over 25 pounds
- Portability: Comfortable handles and option to secure with a car seatbelt
Essential Features to Look For in a Vet-Trip Carrier

A solid, stable base prevents tipping when you set the carrier down or carry it one-handed. Flimsy bottoms flex and wobble, which scares pets and makes transport harder. Reinforced plastic boards or rigid frames keep the carrier flat and predictable. Check that the bottom doesn’t sag when you press down with your hand.
Multiple ventilation openings let fresh air circulate without creating drafts. Mesh panels should be tear-resistant and stitched into reinforced edges so claws can’t rip them loose. Avoid carriers with only small pinholes. Those trap heat and limit visibility, both of which raise stress. Look for designs that balance airflow with privacy. Some include roll-down mesh covers you can adjust based on your pet’s comfort.
Escape-proof closures matter most during loading and unloading. Zippers should run smoothly and lock at both ends. Locking clips or snap fasteners add a second layer of security if a zipper slides open. Washable or wipeable interiors save time after accidents. Removable pads that go in the washing machine are easier to maintain than sewn-in liners. Choose scratch-resistant materials if your pet digs or paws when nervous.
Acclimating Cats and Dogs to Their Carrier

Start acclimation 7 to 14 days before the vet visit. Place the carrier in a room where your pet spends most of their time, like the living room or bedroom. Leave the door open and toss a favorite toy or small treat inside. Don’t force entry. Let curiosity do the work. Cats may ignore the carrier for a day or two before investigating. Dogs often approach faster but still need time to decide the carrier is safe.
Add bedding that smells like home. An old T-shirt you’ve worn or a blanket from their bed works well. Familiar scents signal safety. For cats, sprinkle a pinch of catnip near the entrance or spray a pheromone product like Feliway on a towel 10 to 15 minutes before placing it inside. For dogs, drop a few high-value treats, small pieces of cheese or chicken, just inside the door. Reward any step toward or into the carrier with calm praise and another treat. Avoid excited voices or sudden movements.
Progress slowly through five conditioning steps. Begin with treats placed at the carrier entrance, then just inside, then halfway back, then at the rear wall. When your pet enters willingly, close the door for 5 seconds, open it, and offer a treat. Gradually increase closed-door time to 30 seconds, then 1 minute, then 5 minutes. If your pet protests, back up one step. Do two or three short sessions per day, each lasting 5 to 10 minutes. By day 10, aim for 10 to 15 minutes of relaxed time inside the carrier with the door closed.
Five-step acclimation plan:
- Day 1 to 3: Place carrier in main living area with door open, add familiar bedding and toys
- Day 4 to 6: Drop treats near entrance, then just inside, reward approach and sniffing
- Day 7 to 9: Toss treats to the back, close door for 5 to 10 seconds after entry, then open and reward
- Day 10 to 12: Increase closed-door time to 1 to 5 minutes, offer treats or calm petting through mesh
- Day 13 to 14: Practice 10 to 15 minute sessions, carry the closed carrier around the house to simulate motion
Reducing Travel Anxiety for Vet Visits

Cover the carrier with a light towel or breathable cloth during transport. Cats especially benefit from reduced visual stimulation. Leave the front mesh panel partly visible so air flows and your pet can see a small slice of the world. Total darkness can increase panic in some animals. Dogs in soft carriers often settle faster when they can see you, so covering works better for independent or fearful dogs than for anxious ones who want eye contact.
Spray pheromone products on bedding or a towel 10 to 15 minutes before placing your pet inside, not directly on the animal. Pheromones take a few minutes to disperse and shouldn’t feel damp. For cats, Feliway is commonly used. For dogs, Adaptil collars or sprays can help. Apply a collar 24 hours before the trip for fuller effect. If your vet has recommended a sedative or anti-anxiety medication, follow the timing instructions exactly. Many need to be given 30 minutes to 2 hours before travel.
Plan trips during quieter times of day. Mid-morning weekday appointments avoid rush-hour traffic and reduce waiting-room crowds. Loud engine noise, honking, and sudden stops all raise stress. Play soft music or white noise in the car if your pet responds well to sound. Keep the cabin temperature between 65 and 75 degrees Fahrenheit. Hot cars trigger panting and distress within minutes. Never leave a pet alone in a parked vehicle.
Safe Transporting Techniques in the Car
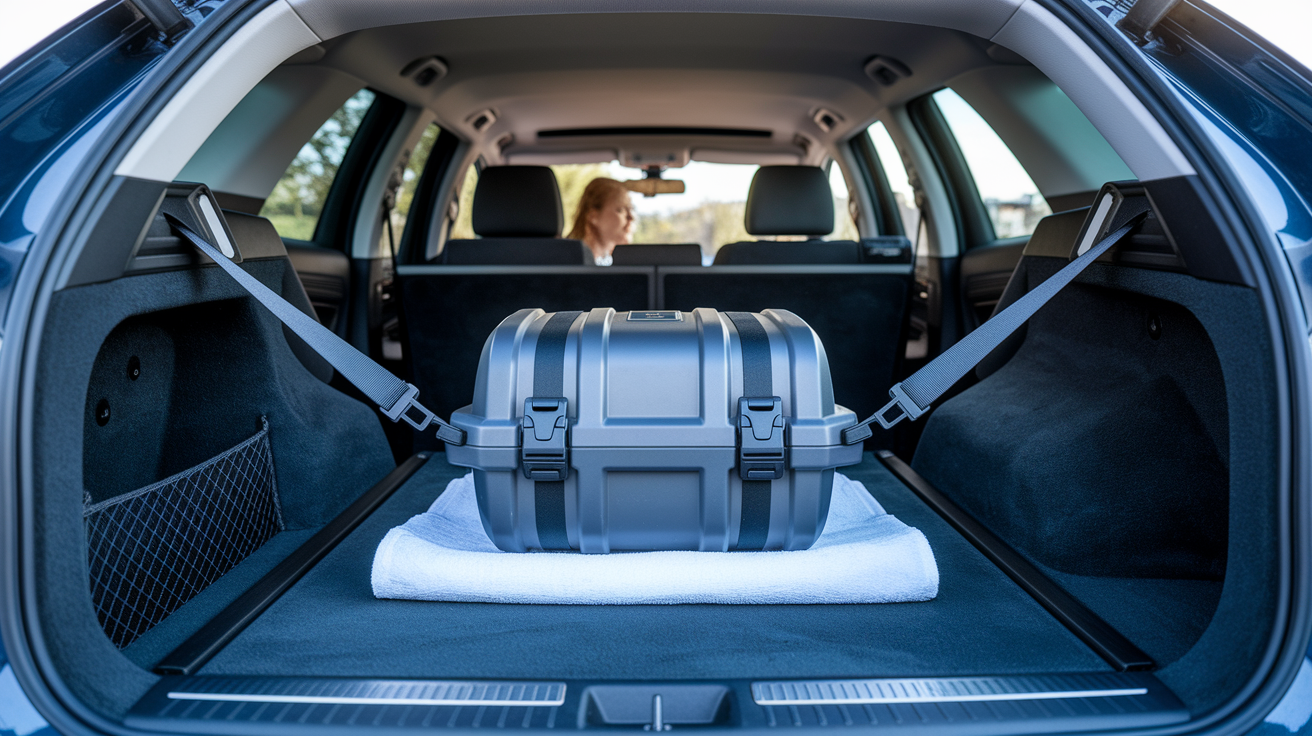
Secure the carrier on the back seat using the seatbelt. Thread the belt through any loops or straps on the carrier, then buckle it snug so the carrier can’t slide forward during braking. If your carrier has no belt loops, place it on the floor directly behind the front passenger seat and wedge it against the seat base so it stays immobile. Never put a carrier in the front seat if the airbag is active. Airbags can crush a carrier and injure or kill a pet.
Stability matters more than you think. A carrier that tips or shifts during turns makes pets scramble for balance, which spikes fear. Add a folded towel under the carrier base if it rocks on the seat. Check that all doors and latches are locked before you start driving. If you hear clawing or loud distress, pull over safely before opening anything. Releasing a panicked pet in a moving car risks accidents and escape.
Four transport safety instructions:
- Belt or wedge the carrier: Use the seatbelt on the back seat or place carrier on the floor behind the passenger seat
- Avoid front-seat placement: Active airbags can crush carriers and harm pets
- Check latches before driving: Confirm doors and zippers are locked to prevent mid-trip escapes
- Maintain cabin temperature: Keep air between 65 to 75°F and never leave pets alone in a parked car
Preparing for the Vet Appointment
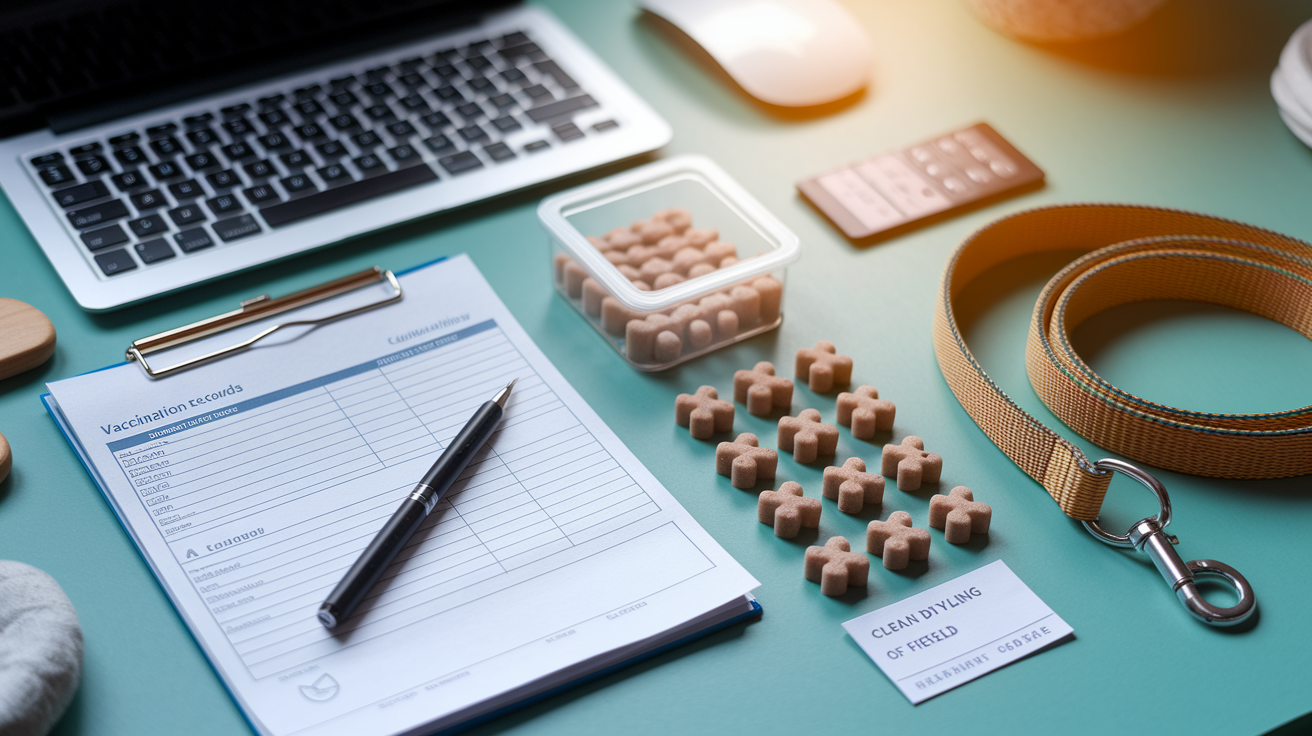
Pack one printed copy of vaccination records and a current medication list the night before. Clinics often need proof of rabies vaccination or a record of recent bloodwork. If your vet requested a stool sample, collect it the morning of the visit and store it in a small, leak-proof container. Refrigerate the sample if the appointment is more than 2 hours away.
Feed dogs a small meal 2 to 3 hours before the appointment unless your vet has asked you to withhold food for lab work. A light snack settles the stomach and prevents nausea during travel. For cats, check with your vet. Some blood panels require fasting, but routine wellness visits don’t. Bring 10 to 15 small, high-value treats to reward calm behavior in the waiting room and exam room. Treats double as distraction tools when your pet needs to hold still for a quick check.
Arrive 10 to 15 minutes early so you can check in without rushing and give your pet a few minutes to settle in the carrier before being called. Bring a leash and harness for dogs, even if they’re riding in a carrier. You’ll need both for the walk from the car to the clinic door. For cats, a harness helps if the vet needs to remove them from the carrier for a physical exam. Label the outside of the carrier with your phone number and the clinic name on a piece of masking tape in case the carrier is set down in a busy area.
Six-item preparation checklist:
- Vaccination and medical records: 1 printed copy
- Current medication list: 1 printed copy, including dosages
- Stool sample: 1 small container if requested, collect morning-of and refrigerate
- Treats: 10 to 15 small, high-value pieces
- Leash and harness: 1 set, harness improves safe handling during exams
- Carrier ID label: Tape with your phone number and vet clinic name
Troubleshooting Common Carrier Problems

If your pet refuses to enter the carrier, try a top-loading model. Lowering a cat or small dog from above feels less threatening than shoving them through a front door. Remove the top half, place your pet inside the bottom, then reattach the lid. Pair every entry with a treat so the action builds a positive association. If progress stalls after a week, switch to a different carrier. Some animals reject a specific design or smell.
Carriers that tip during handling scare pets and make them resist future trips. Check the base. If it flexes or wobbles, add a rigid board underneath or choose a sturdier model. For soft-sided carriers, place a cutting board or piece of cardboard inside the bottom before adding bedding. This creates a flat, firm surface that doesn’t sag when lifted.
Excessive vocalization (yowling, barking, whining) often signals fear rather than pain. Cover the carrier with a towel to reduce visual stimulation. Speak in a calm, quiet voice. Avoid opening the door to comfort your pet during transport. Opening mid-trip teaches them that noise gets attention, which reinforces the behavior. Wait until you reach the clinic, then offer a treat as soon as they quiet for even 2 seconds.
Five common problems and solutions:
- Refusal to enter: Use a top-loading carrier and reward entry with treats, consider switching carrier styles if resistance continues after 7 days
- Carrier tipping or wobbling: Add a rigid board under soft carriers or choose a hard-sided model with a reinforced base
- Excessive vocalization: Cover carrier with a towel, speak softly, avoid mid-trip door opening
- Escape attempts: Verify two-point closures (zipper plus snap or locking clips), replace worn zippers or latches before travel
- Sliding or shifting in car: Secure with seatbelt or place on floor behind seat, add a folded towel under the base for grip
Final Words
Pick a carrier that fits. Your pet should be able to stand and turn. Check ventilation, strong latches, and a stable base.
Help them get used to it with familiar bedding, short practice sessions, and rewards. For travel, use pheromones, secure the carrier with a seatbelt or on the floor, and bring paperwork and a light meal plan.
These pet carrier for vet visits tips are the quick, useful steps that make vet trips calmer. Start small, stay consistent, and you’ll see gentler, less stressful visits.
FAQ
Q: How to prepare your pet for a veterinary visit?
A: Preparing your pet for a veterinary visit means packing paperwork and meds, bringing a familiar blanket, practicing short carrier trips, feeding per vet guidance, and staying calm to reduce stress before arrival.
Q: What is the 3 3 3 rule for cats when moving?
A: The 3 3 3 rule for cats when moving means expect hiding or low activity for the first 3 days, allow exploration and routine building over 3 weeks, and expect fuller settling by about 3 months.
Q: What do vets recommend for cat carriers?
A: Vets recommend cat carriers that are sturdy, well-ventilated, escape-proof, and sized so the cat can stand and turn; top-loading access, washable interiors, and familiar bedding make trips easier.
Q: How to get an unwilling cat into a carrier?
A: Getting an unwilling cat into a carrier uses patience: leave the carrier out with bedding and treats, use calm praise and pheromones, try top-loading or towel wrapping, and reward small successes.