

Think store-bought dog treats are harmless? A lot of them hide fillers or sweeteners like xylitol that can be dangerous.
Making homemade treats is simpler and safer than most pet parents expect.
With a few safe ingredients, one bowl, and about 30 minutes you can control what your dog eats, save money, and tailor recipes for allergies or weight needs.
This post gives easy baked and no-bake recipes, five safety rules to follow, smart ingredient swaps, and storage tips so your batch stays fresh.
Essential Guide to Making Homemable Dog Treats
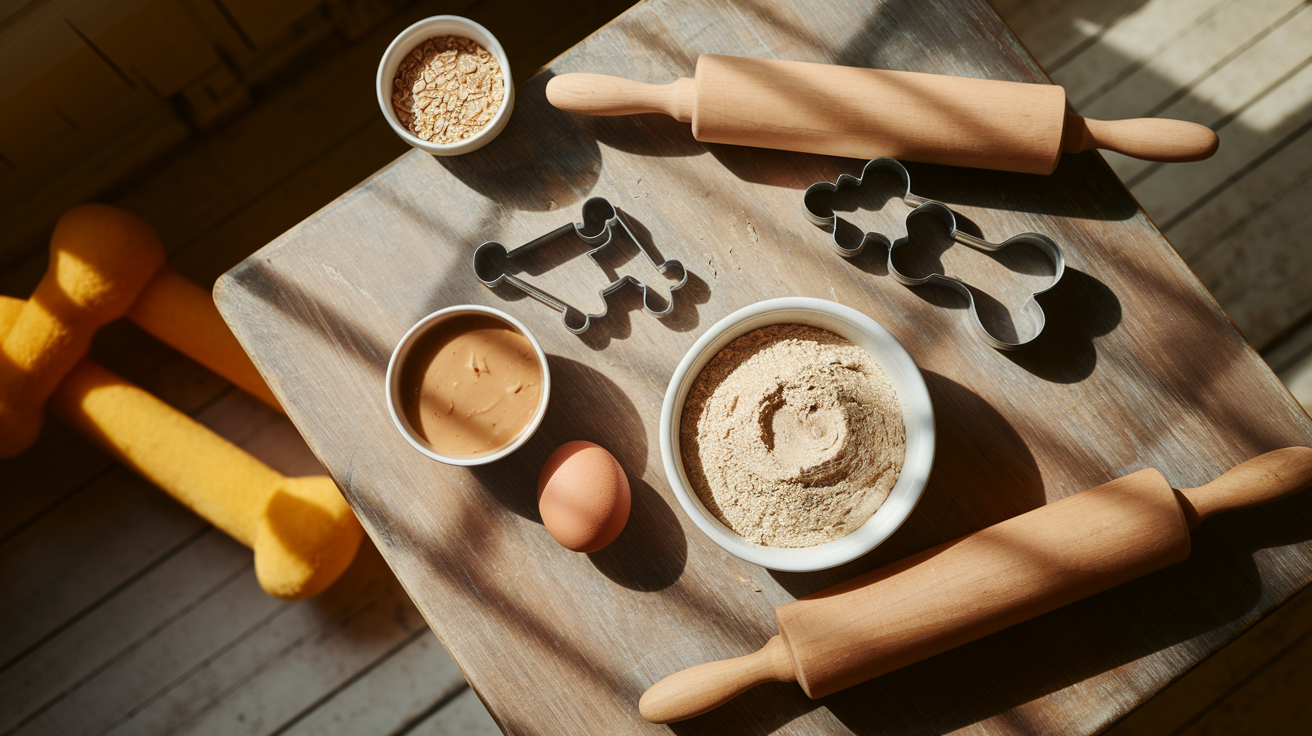
Making homemade dog treats is way simpler than most pet parents think. You need a few safe ingredients, basic kitchen tools you already own, and about 30 minutes from start to finish. The biggest advantage? Control. You choose what goes into your dog’s mouth, skip the mystery fillers, and avoid toxic stuff like xylitol (a sweetener that sneaks into peanut butter) and chocolate. A basic batch of baked treats costs less than five bucks and gives you 60 to 100 treats, depending on size. That’s real value.
Most recipes start with flour (whole wheat or oat), a protein binder like egg, and a flavor ingredient. Peanut butter, pumpkin puree, or mashed banana. Mix everything in one big bowl, roll the dough to about 1/4 inch thick, cut shapes with a cookie cutter or knife, and bake on a standard sheet at 325 to 350°F for 20 to 30 minutes. Treats come out slightly crunchy once they cool. If your dog likes softer bites, reduce the bake time or try a no-bake option using yogurt and oats that just needs the fridge or freezer.
Here’s a quick-start version: combine 2 cups whole wheat flour, 1/2 cup peanut butter (check the label for peanuts only, no xylitol), 1 egg, and 1/4 cup water in a bowl. Mix until you get a thick dough, use your hands if you need to. Roll to 1/4 inch, cut shapes, arrange on a baking sheet, and bake at 350°F for 20 minutes. Flip the treats halfway through for even browning. Cool completely before serving.
Five Essential Safety Rules for Homemade Dog Treat Preparation:
- Always verify peanut butter and other spreads don’t contain xylitol before using.
- Avoid chocolate, grapes, raisins, onions, garlic, and macadamia nuts in any recipe.
- Consult your veterinarian if your dog has known food allergies or sensitivities.
- Cool treats completely before storage to prevent mold from trapped steam.
- Store most of each batch in the refrigerator or freezer, keeping only a 1 to 2 day supply at room temperature.
Step-by-Step Recipe for Classic Peanut Butter Dog Treats
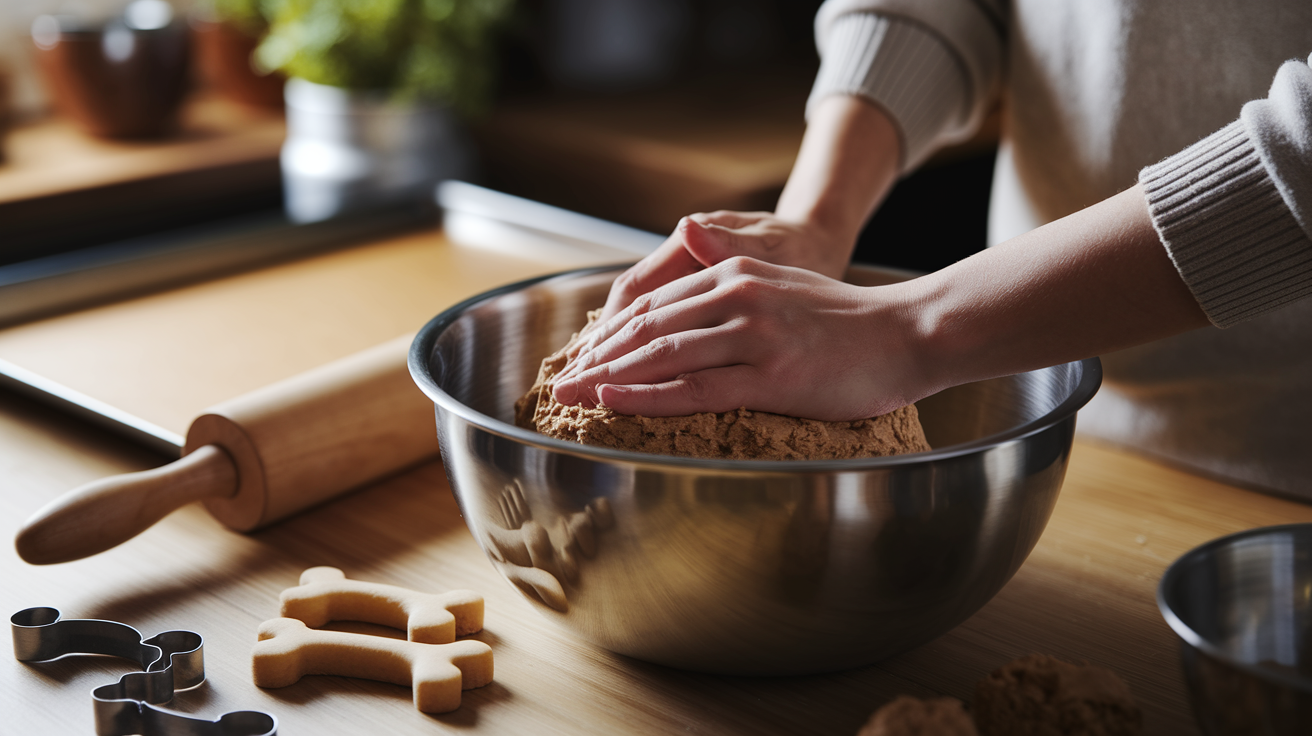
This recipe gives you a simple, one-bowl baked treat that most dogs love and most kitchens can handle without special equipment.
Ingredients:
- 2 cups whole wheat flour
- 1/2 cup all-natural peanut butter (ingredient list should say “peanuts” only, no xylitol)
- 1 large egg
- 1/4 cup water (add more if dough is too dry)
- 1 tablespoon honey (optional, for extra flavor)
- 1/2 teaspoon baking powder (helps treats puff slightly)
- Pinch of cinnamon (optional, dogs often like the scent)
Numbered Recipe Steps:
- Preheat your oven to 350°F and line a baking sheet with parchment paper or lightly grease it.
- In a large mixing bowl, combine the peanut butter, egg, honey if you’re using it, and water. Stir until smooth.
- Add the flour, baking powder, and cinnamon to the wet mixture. Stir with a spoon or spatula until a thick dough starts forming.
- Use your hands to knead the dough in the bowl for about 1 minute until it comes together in a firm ball. If the dough feels crumbly, add water one tablespoon at a time. If it’s too sticky, sprinkle in a little more flour.
- On a lightly floured surface or between two sheets of parchment, roll the dough to 1/4 inch thickness. Thinner treats bake crispier, thicker treats stay chewier inside.
- Cut shapes using a cookie cutter (bone or heart shapes work well) or just slice into small squares with a knife. Arrange the cut treats on the prepared baking sheet. They won’t spread, so you can place them close together.
- Bake for 18 to 20 minutes, then flip each treat with a spatula and bake for another 10 to 12 minutes until the bottoms are lightly browned and the treats feel firm.
- Remove from the oven and transfer treats to a wire rack. Let them cool completely before serving or storing.
To make crunchier treats, reduce the thickness to 1/8 inch and extend the bake time by a few minutes. Watch closely to avoid burning. For softer bites that work better for older dogs or puppies, keep the dough thicker and bake just until set, about 15 minutes total. Adjust portion size to your dog’s weight, breaking large treats into smaller pieces for big breeds or cutting tiny shapes for small dogs.
No-Bake Dog Treat Variations

No-bake treats skip the oven and rely on refrigeration or freezing to set the ingredients. These options work great in warm weather when you want a cool snack for your dog, and when you’re short on time. A yogurt base mixed with pureed fruit or vegetables creates a creamy, frozen bite that many dogs love straight from the freezer. Banana-oat balls just need mashing ripe bananas with old-fashioned oats, then rolling the mixture into small balls and chilling until firm. These treats stay soft and moist, so they’re perfect for senior dogs or dogs with dental issues.
Freezing times usually range from 2 to 4 hours, depending on the size of each treat and your freezer’s temperature. Store no-bake treats in airtight containers in the freezer for up to 3 months. Because they contain fresh ingredients like yogurt, applesauce, or pumpkin, they spoil faster than baked treats if left at room temperature. Keep a small serving in the fridge for daily use (up to 5 days) and leave the rest frozen.
Four Simple No-Bake Variations:
- Frozen Yogurt Bites: Mix 1 cup plain yogurt with 1/2 cup mashed banana or pureed pumpkin. Spoon into silicone molds or an ice cube tray. Freeze for 3 hours.
- Peanut Butter Banana Balls: Mash 2 ripe bananas, stir in 1 cup old-fashioned oats and 2 tablespoons peanut butter. Roll into 1-inch balls. Refrigerate for 2 hours.
- Pumpkin Applesauce Bites: Combine 1/2 cup pumpkin puree, 1/2 cup applesauce, 1/4 cup peanut butter, 1/4 cup plain yogurt, and 2 1/2 cups oats. Scoop into small mounds. Chill or freeze.
- Sweet Potato Mash Treats: Steam or boil 1 sweet potato until soft. Mash completely, mix with 1/2 cup oats and 1 tablespoon coconut oil. Shape into small patties. Freeze for 4 hours.
Recipes for Dogs with Dietary Needs
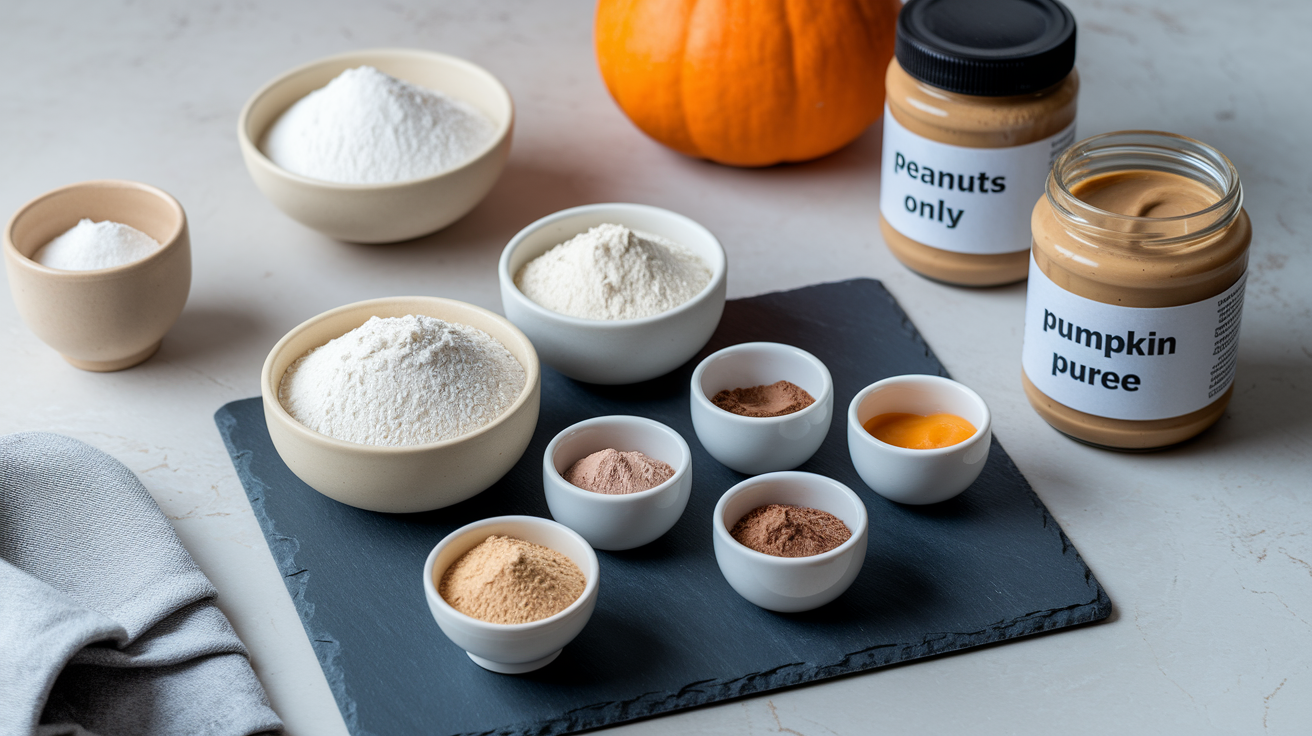
Dogs with grain sensitivities, food allergies, or weight concerns need treats built around their bodies. Grain-free recipes replace wheat or oat flour with alternatives like coconut flour, chickpea flour, or ground oats processed into flour at home using a food processor or high-powered blender. Coconut flour absorbs a lot of liquid, so recipes using it often need extra eggs or water to hold together. Chickpea flour (also called garbanzo bean flour) works well in savory biscuits and adds protein without grains.
For hypoallergenic treats, start by identifying your dog’s known allergens and swap out problem ingredients. Common allergens include beef, chicken, dairy, wheat, corn, and eggs. If your dog can’t have eggs, try using a “flax egg” (1 tablespoon ground flaxseed mixed with 3 tablespoons water, let sit for 5 minutes until it gets gel-like) as a binder. For dogs who can’t have peanut butter, sunflower seed butter or soy-nut butter can work, but always verify with your vet that the substitute is safe for your specific dog.
Low-fat treats help dogs managing pancreatitis, obesity, or digestive upset. Replace peanut butter with pureed pumpkin or mashed sweet potato. Use lean proteins like plain cooked turkey or chicken breast in small amounts. Skip bacon, cheese, and oils. A simple low-fat recipe combines 1 cup pumpkin puree, 2 cups oat flour, and 1 egg. Roll, cut, and bake at 325°F for 25 minutes.
Grain-Free Flour Swaps (use in equal measure to replace 1 cup wheat flour):
- 1 cup coconut flour (reduce to 1/4 cup and add 4 eggs or extra liquid, it’s very absorbent)
- 1 cup chickpea flour
- 1 cup almond flour (use only if your dog has no nut allergies)
- 1 cup ground oats (pulse old-fashioned oats in a blender until fine)
Hypoallergenic Ingredient Swaps:
- Replace egg with 1 flax egg (1 tablespoon ground flaxseed + 3 tablespoons water)
- Replace peanut butter with sunflower seed butter or pumpkin puree
- Replace chicken or beef with turkey or a single novel protein your vet recommends
- Replace dairy yogurt with non-dairy coconut yogurt (check ingredients for xylitol)
How to Store Homemade Dog Treats
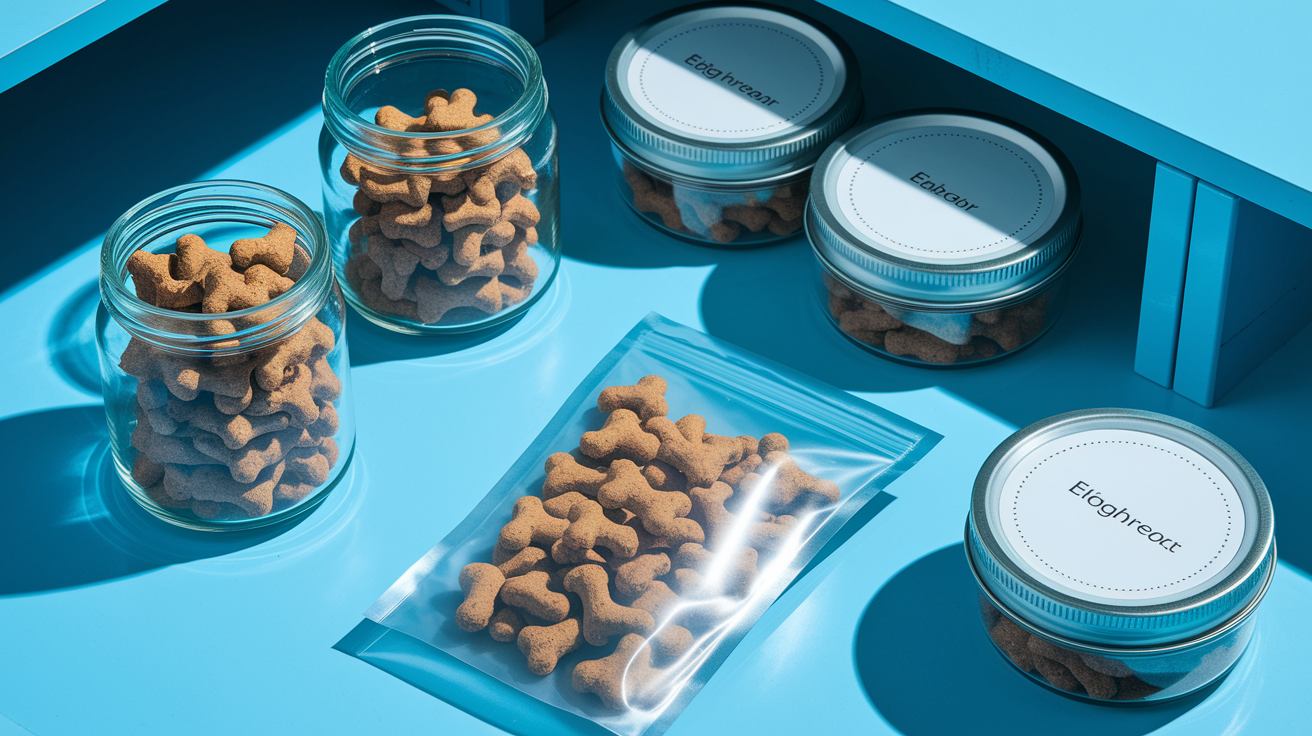
Homemade treats don’t have the preservatives found in commercial products, so proper storage matters. After treats cool completely, transfer them to an airtight container. Glass jars with tight-fitting lids, food-storage containers with snap locks, and resealable plastic bags all work. Store the container in a cool, dry, dark spot away from the stove, direct sunlight, and humidity. If you live somewhere warm or humid, default to refrigerator or freezer storage rather than leaving treats on the counter.
For daily use, keep a small handful of treats (enough for 1 to 2 days) at room temperature and refrigerate or freeze the rest of the batch. Moisture is the enemy. Baked treats with low moisture content last longer, so extending bake time at a lower temperature (around 300°F) removes extra water and produces crunchier biscuits. Even with extra baking, homemade treats can still spoil, so watch for any off smell, visible mold, or texture changes before feeding.
| Storage Method | Shelf Life | Best For |
|---|---|---|
| Room Temperature (airtight container) | 5 to 7 days | Fully baked, low-moisture treats in cool, dry climates |
| Refrigerator (airtight container) | Up to 2 weeks | Soft-baked, no-bake, or higher-moisture treats |
| Freezer (airtight container or freezer bag) | Up to 3 months | Large batches, long-term storage, all treat types |
| Dehydrator (optional extra step) | Extends shelf life by removing moisture | Crunchier treats, extended freshness (still refrigerate or freeze) |
When freezing, portion treats into smaller bags so you can thaw only what you need for the week. Thaw frozen treats in the refrigerator overnight, or serve them straight from the freezer as a cool snack. Some dogs love the texture of frozen treats, especially in summer.
Cost Comparison: Homemade vs Store-Bought Dog Treats
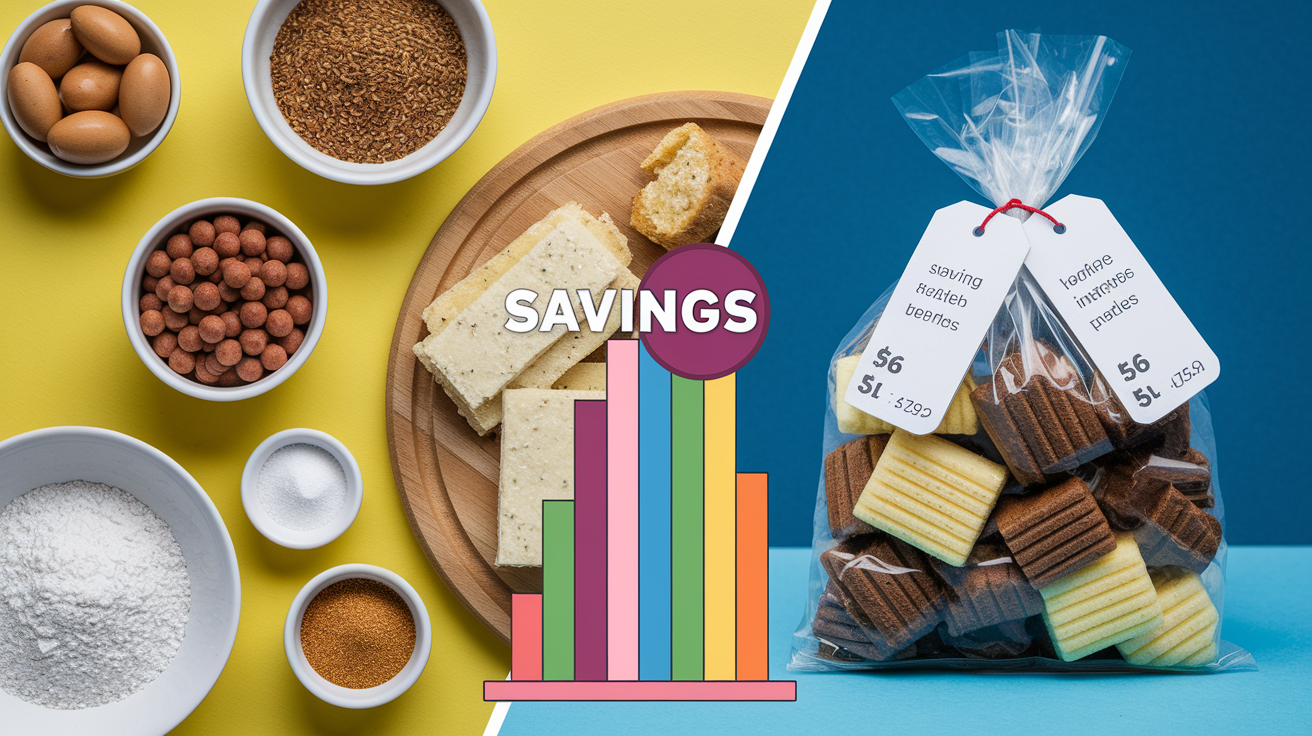
Baking treats at home costs way less than buying premium or specialty treats from the pet store. A typical homemade batch using whole wheat flour, peanut butter, an egg, and water runs about $3 to $5 in total ingredient cost and gives you 60 to 100 treats depending on size. Compare that to a small bag of organic or grain-free treats at the store, which often costs $8 to $15 for 20 to 30 pieces. Over a month, the savings add up fast, especially if you have multiple dogs or use treats a lot for training.
Specialty diets make the savings even bigger. Hypoallergenic, grain-free, or limited-ingredient commercial treats can run $12 to $20 per bag. Making those same treats at home with chickpea flour, sweet potato, and a safe protein costs roughly $6 per batch and gives you total control over every ingredient. You also cut down on packaging waste and the risk of recalls.
Three Cost-Saving Highlights:
- Homemade batch (60 to 100 treats): approximately $3 to $5 using pantry staples like flour, peanut butter, and eggs.
- Store-bought premium treats (20 to 30 treats): typically $8 to $15, often more for grain-free or specialty formulas.
- Monthly savings example: if you use 10 treats per day, homemade treats cost about $5 to $10 per month versus $25 to $50 for the same amount of store-bought products.
Final Words
You’ve got the basics: safe ingredients, simple tools, and a quick mix-shape-bake recipe that gets treats on the counter fast.
You also learned no-bake options, swaps for grain-free or low-fat needs, and how to store batches so they stay fresh longer.
Remember the five safety rules: no xylitol, check fat content, keep utensils clean, cool before storing, and watch portion sizes.
If you ever wonder how to make homemade dog treats for your pup, start small and enjoy the process. Your dog will thank you.
FAQ
Q: How do I make my own dog treats?
A: To make your own dog treats, mix safe base ingredients (like oat flour, pumpkin, or xylitol-free peanut butter), shape, then bake or freeze, cool fully, and store in airtight containers.
Q: What ingredients are best for dog treats?
A: The best ingredients for dog treats are simple, safe whole foods like xylitol-free peanut butter, oats, pumpkin, sweet potato, plain yogurt, lean cooked meat, apples (no seeds), and carrots.
Q: What is the 90/10 rule dog?
A: The 90/10 rule for dogs means about 90% of daily calories should come from a balanced diet and only 10% from treats, which helps manage weight and keep nutrition on track.
Q: Is making your own dog treats cheaper?
A: Making your own dog treats is often cheaper per treat, especially when you bake in batches, but savings depend on ingredient choices, time spent, and whether you use pantry staples.