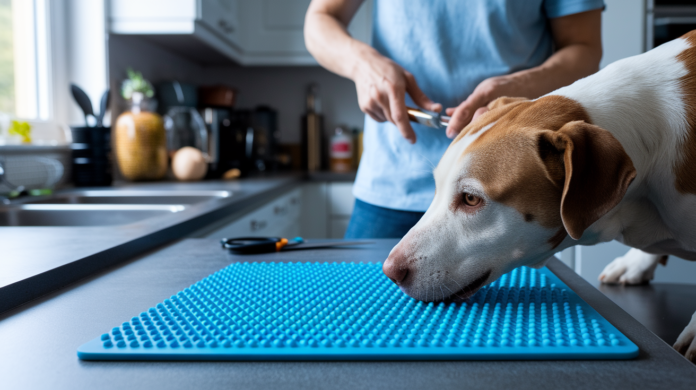

You don’t need to buy a fancy lick mat to calm or entertain your dog.
A homemade lick mat uses a food-safe silicone sheet and a few simple cuts or glued-on textures to turn peanut butter, pumpkin, or yogurt into a slow, soothing puzzle that keeps dogs busy during baths, nail trims, storms, or a rainy afternoon.
In this post you’ll get step-by-step build instructions, safe material tips, texture ideas, freezing and spreading tricks, and easy recipes, so you can make a durable, dog-safe lick mat in under an hour and use it right away.
Step-by-Step DIY Method to Make a Lick Mat for Dogs at Home
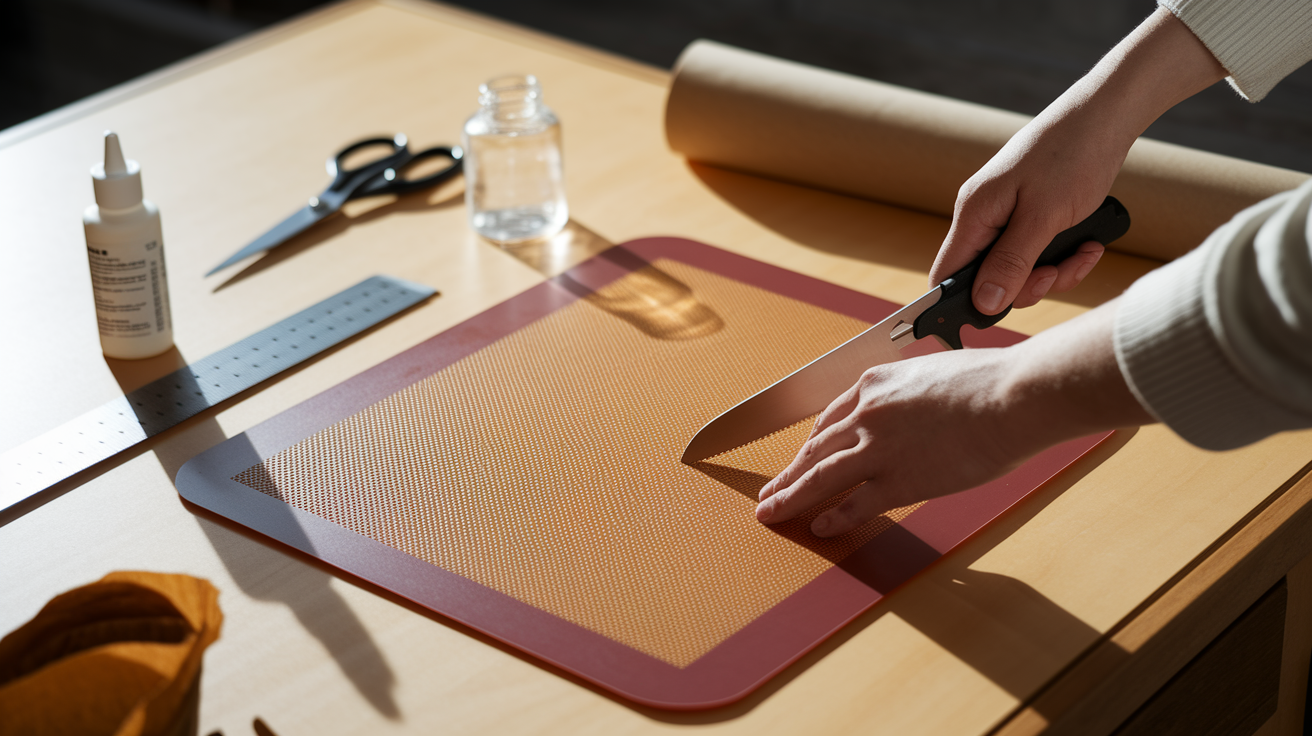
A homemade lick mat works because it creates textured friction that slows down licking, keeps your dog’s mouth and brain busy, and promotes calming through repetitive motion. The small grooves and raised surfaces turn simple spreads into a puzzle that can occupy an anxious dog during a bath or a bored pup on a rainy afternoon. You don’t need specialized pet products. A food safe silicone baking mat, the kind you probably already own, can be turned into a durable enrichment tool in under an hour.
You’ll need a silicone baking mat or sheet (preferably food grade silicone, BPA free), a pair of sharp scissors or a utility knife, waterproof adhesive (like silicone based glue or food safe epoxy), and optional non slip backing material such as a rubber shelf liner or suction cups if you want the mat to stay put on tile or tub edges. If you’re using a plain mat, you can add texture by gluing silicone molds, strips, or even trimmed sections of textured silicone trivets to the surface.
Always check that materials are labeled food safe and BPA free. Avoid craft silicones or adhesives not rated for food contact. Your dog will lick this surface for extended periods, so anything that can leach chemicals or break down into sharp edges is a safety risk.
Assembly steps:
-
Cut the silicone mat to your desired size using scissors or a utility knife. For small dogs, 6 inches by 6 inches works well. Larger dogs can handle 8 by 10 inches or more.
-
Choose your texture method. You can score shallow grooves directly into the mat using a butter knife or utility blade, or glue pre textured silicone elements (like mini ice cube molds or silicone strips) onto the surface.
-
If scoring by hand, draw a grid or simple maze pattern lightly with a marker, then press and drag the blade gently to create shallow channels. Don’t cut all the way through.
-
If adding texture pieces, apply a thin bead of waterproof adhesive to the back of each piece and press firmly onto the mat. Space pieces so grooves remain accessible for spreading.
-
Attach non slip backing if desired. Glue suction cups to the back corners, or affix a trimmed sheet of rubber shelf liner using the same adhesive.
-
Allow the entire assembly to dry for 24 to 48 hours in a well ventilated area, then rinse thoroughly with warm soapy water before the first use.
Once your mat is dry and clean, you can freeze it after spreading on ingredients to extend enrichment time. Freezing for 1 to 2 hours or overnight turns soft spreads into frozen puzzles that keep dogs engaged longer and offer a cooling effect on warm days.
Choosing the Best Materials for a Durable DIY Lick Mat
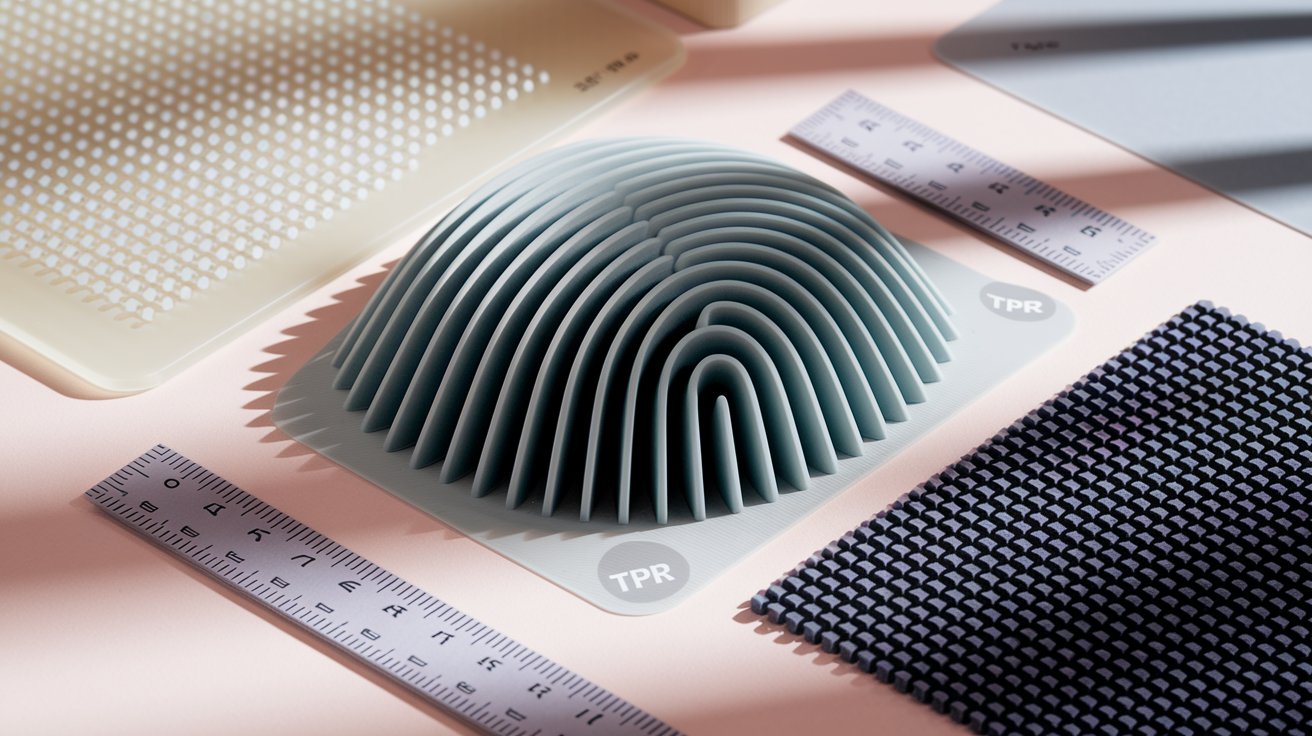
Silicone is flexible, heat resistant, and dishwasher safe, which makes it the top choice for DIY lick mats. Food grade silicone won’t crack or warp in the freezer, and it’s soft enough that heavy lickers won’t damage their teeth or gums. TPR rubber (thermoplastic rubber) is another option if you can source small sheets. It’s BPA free, durable, and slightly grippier than silicone, but it’s harder to cut cleanly at home. Plastic mats, like repurposed plastic cutting boards, are stiffer and easier to score with deep grooves, but they can crack if frozen repeatedly and may not suction as well to smooth surfaces.
The best material depends on how you plan to use the mat. Soft, shallow textures suit spreads like yogurt, pumpkin, and mashed banana because the food clings gently without getting wedged too deep. Deeper grooves and stiffer materials work better for blended liquids like blueberry puree or bone broth that need containment when poured. If you want a mat that suctions to the bathtub wall, prioritize silicone over plastic.
Optional material enhancements to consider:
Textured silicone molds (mini waffle molds, honeycomb trivets) for instant raised patterns. Thicker silicone sheets (3mm or more) for heavy chewers who might flex thin mats. Suction cups (food safe) glued to the back for bath or window use. Cookie cutters to shape custom mat outlines (bone, paw, circle). Heat resistant silicone rated to at least 400°F if you plan to sanitize by boiling. BPA free plastics like HDPE cutting boards if you prefer rigid, scoreable surfaces. Reinforcement strips along edges to prevent curling or tearing over time.
Creating Textured Surfaces for the DIY Dog Lick Mat
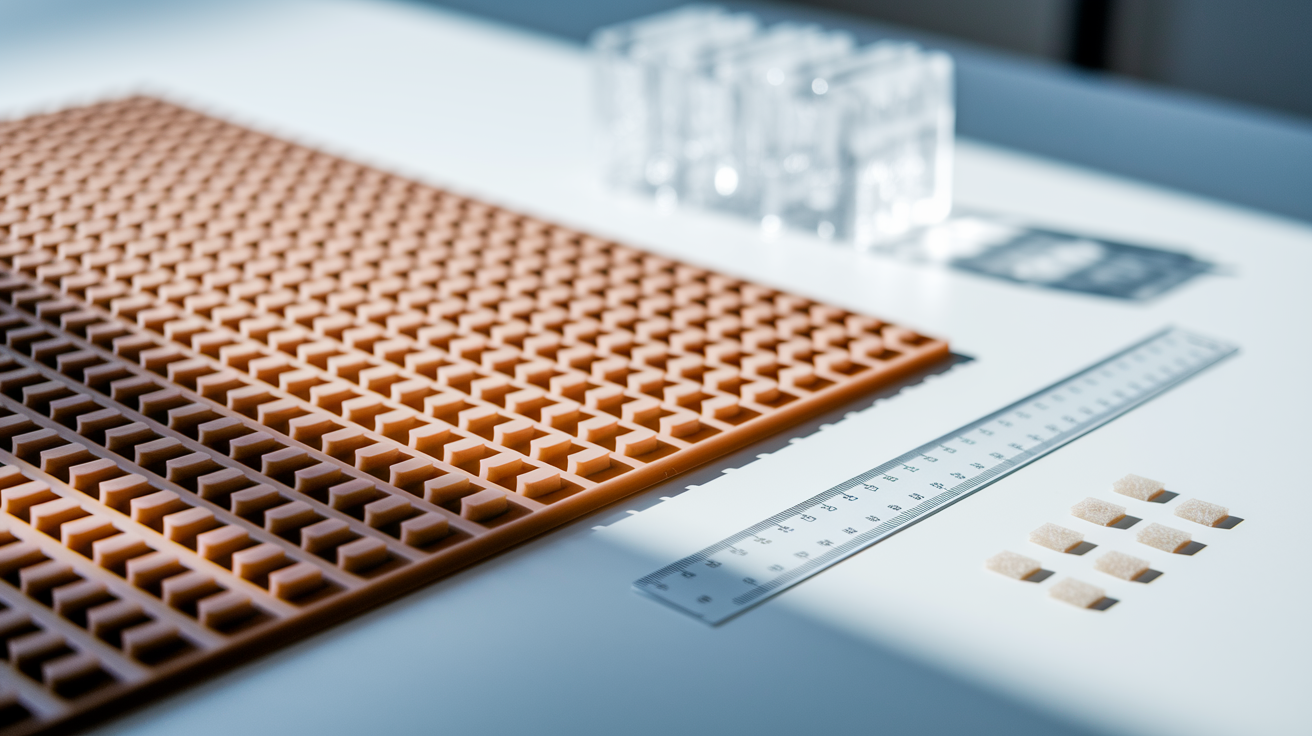
Varied textures increase the challenge and stretch out enrichment time. Shallow bumps let your dog lick quickly and build confidence, while deep grooves or winding channels slow things down and require more focus. Mixing textures in one mat keeps it interesting and lets you use different foods in different zones without everything blending into mush.
Grid Pattern
Score a simple grid of squares or rectangles directly into the silicone surface using a butter knife or the back of a utility blade. Press firmly enough to leave a visible channel but not so hard that you cut through the mat. Each square should be about half an inch to one inch wide. You can also skip the scoring and glue small silicone ice cube tray sections onto the mat to create raised, compartmentalized squares. This pattern holds chunky spreads like mashed banana or sweet potato well and makes it easy to portion ingredients into separate sections.
Maze Pattern
Arrange thin silicone strips (cut from spare mats or trivets) into winding, connected channels that loop across the surface. Glue the strips down with waterproof adhesive, leaving narrow paths between them. Pour or spread liquid ingredients like blended blueberries or low sodium broth into the channels. The winding design forces your dog to follow the path with their tongue, which takes longer and offers more mental stimulation than a simple grid. This works especially well for frozen treats.
Multi-Texture Patchwork
Combine shallow grooves in one section with deeper, tighter channels in another. Use a butter knife to score light lines on one half of the mat, then glue a textured silicone mold (like a small honeycomb trivet) onto the other half. Spread soft foods like Greek yogurt and pumpkin on the shallow side, and pour blended purees onto the deep side. This setup lets you serve two textures in one session and match food consistency to groove depth for better hold and longer engagement.
Safe and Dog-Friendly Ingredients to Use on Your DIY Lick Mat

Choose whole, single ingredient foods without added sweeteners, salt, or seasonings. Plain spreads give you full control over what your dog eats and make it easier to avoid hidden toxins like xylitol. Keep portions small, a spoonful or two per mat, to prevent overfeeding and stomach upset. If your dog is new to lick mats, start with a single familiar ingredient and add variety once they understand the concept.
Lick mat treats should fit into your dog’s daily calorie budget. A tablespoon of peanut butter or a few spoonfuls of yogurt can add up quickly, especially for small dogs. Rotate lower calorie options like pumpkin or mashed vegetables if you plan to use the mat daily.
Safe spreadable ingredients:
Plain Greek yogurt (unsweetened, full fat or low fat, check for dairy sensitivity). Pure canned pumpkin (not pumpkin pie filling, which contains sugar and spices). Mashed banana (without the peel, which is hard to digest). Blueberry puree (blend a handful with a splash of water). Wet dog food (any flavor your dog tolerates). Mashed sweet potato (cooked, plain, no butter or seasoning). Xylitol free peanut butter (check the label carefully). Unsweetened applesauce (no added sugar, no xylitol).
Avoid banana peels. They’re tough to digest and can cause blockages, especially in smaller dogs. Always use plain Greek yogurt, not flavored varieties, which often contain added sweeteners or artificial ingredients. Some sugar free yogurts and peanut butters contain xylitol, a sweetener that’s toxic to dogs even in tiny amounts. Read every label before spreading.
Freezing, Spreading Techniques, and Custom Recipes for Your Homemade Lick Mat

Freezing transforms a five minute snack into a 20 to 30 minute challenge. Spread your chosen ingredients onto the mat, smooth them into the grooves with the back of a spoon or a spatula, then place the whole mat flat in the freezer for at least 1 to 2 hours. Overnight freezing works even better and lets you prep several mats in advance to keep on hand for stressful moments like thunderstorms or grooming sessions.
Different foods spread differently. Mashed banana smears easily if you place half a banana in the center of the mat and drag it across the grooves using the corners of the mat itself or a spoon. Pumpkin and yogurt pour and spread smoothly with a spoon, especially on mats with shallow, wide textures. Blueberry puree or other blended liquids should be poured gently and frozen right away to avoid runny messes.
Four simple frozen recipes using your homemade mat:
- Banana smear: press half a banana onto the center of the mat and drag it across grooves with a spoon, freeze for 2 hours.
- Pumpkin yogurt swirl: combine 1 spoonful pure pumpkin with 1 spoonful plain Greek yogurt, spread evenly, freeze overnight.
- Blueberry puree: blend a handful of blueberries with 1 to 2 splashes of water, pour onto mat, freeze for 1 to 2 hours.
- Sweet potato mash: mash half a cooked sweet potato, spread into grooves, freeze for 2 hours or overnight.
Using Homemade Lick Mats for Anxiety Relief and Daily Enrichment
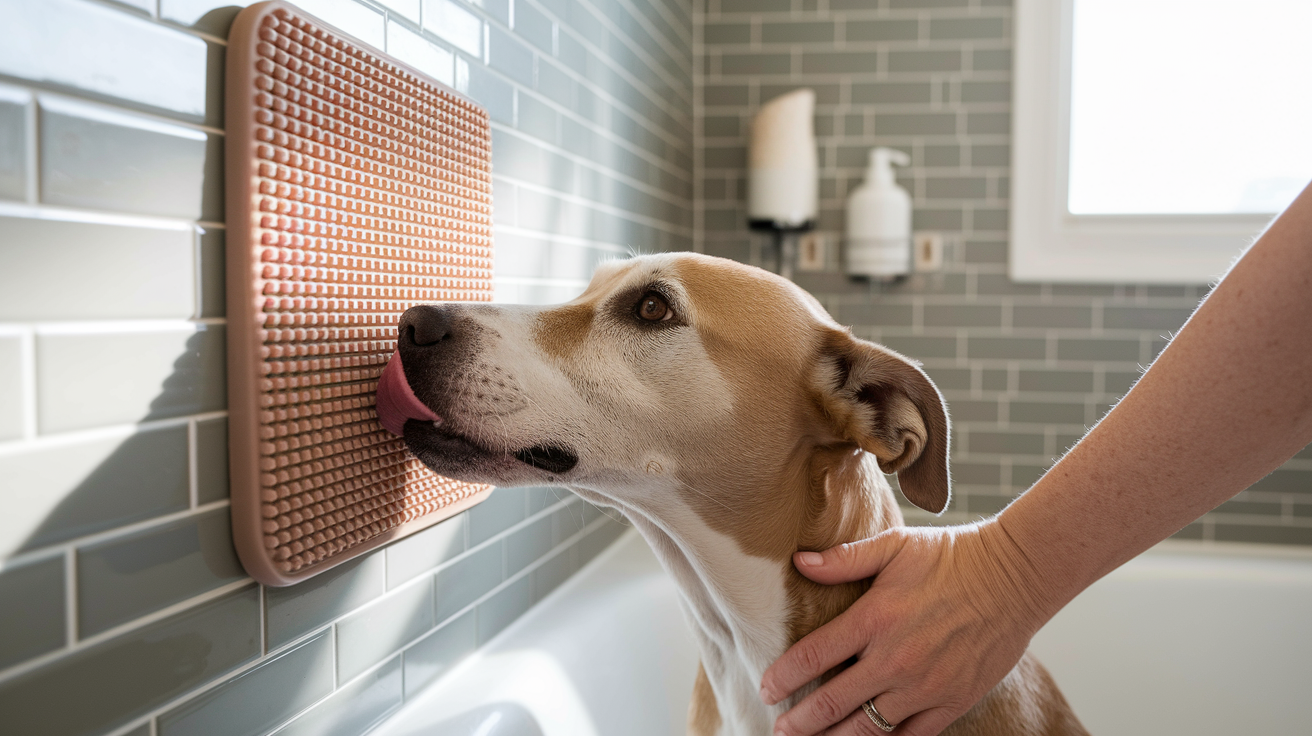
Licking releases endorphins and promotes a calming, repetitive rhythm that can help anxious dogs settle during stressful events. The act of working through grooves also keeps their brain occupied, which reduces the mental space left over for fear or frustration. A frozen lick mat can turn a tense nail trim or a noisy thunderstorm into a manageable moment.
Daily enrichment doesn’t have to mean daily lick mat use. Two to three times per week is enough to keep your dog mentally stimulated without overfeeding or creating dependency. Rotate the mat with other activities like sniff games, puzzle feeders, or short training sessions to keep enrichment varied and interesting.
Offering a lick mat during known triggers can reduce unwanted behaviors like barking, whining, or destructive chewing. The mat gives your dog something productive to do with their mouth and mind instead of acting out. It’s not a cure for serious anxiety disorders, but it’s a helpful tool in a broader behavior plan.
Situations Where Lick Mats Work Best
Bath time is a classic use. Suction your DIY mat to the tub wall or shower tile and spread it with a high value treat like peanut butter or wet food. Your dog stays focused on licking while you wash, rinse, and dry without as much squirming or stress. Nail trims work the same way. Give the mat before you start clipping to create a positive association and keep your dog distracted during a task most of them dislike. Vet visits and grooming appointments can feel less overwhelming when your dog has a familiar, rewarding activity to focus on while waiting or being handled. Crate training benefits from lick mats too. A frozen mat inside the crate turns alone time into treat time and helps build positive feelings about the space.
Cleaning, Care, and Maintenance of Your DIY Dog Lick Mat
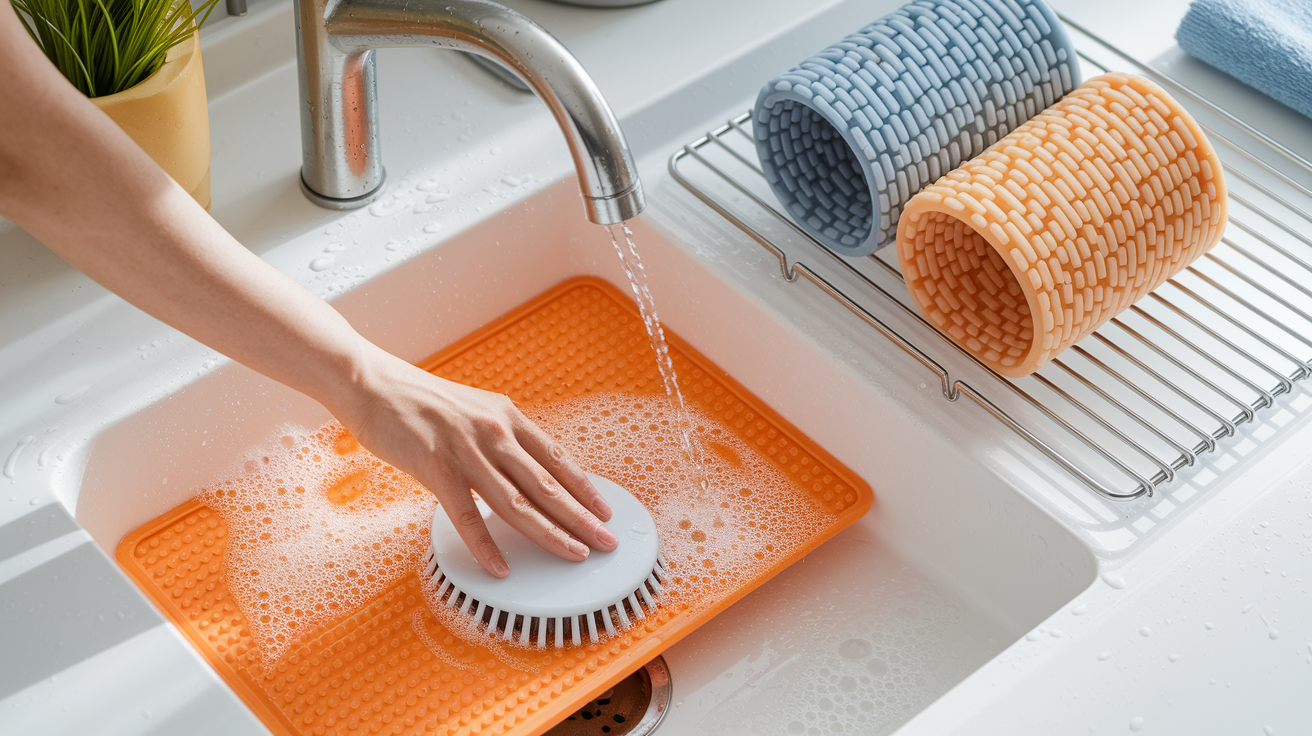
Wash your DIY mat after every use, especially if you’ve used raw ingredients, wet food, or anything that can harbor bacteria. Leftover food stuck in grooves can spoil quickly and create hygiene issues. Soaking the mat in warm, soapy water for a few minutes loosens most residue and makes scrubbing easier.
Deep grooves and textured sections may trap small bits of food even after soaking. Use a soft bristle brush, like a dish brush or an old toothbrush, to work into corners and channels. If your homemade mat is made from food safe silicone and rated dishwasher safe, you can place it on the top rack and run a normal cycle on low heat. Air dry completely before storing or refilling to prevent mold or mildew from forming in damp crevices.
Simple cleaning steps:
Soak the mat in warm water with a few drops of dish soap for 5 to 10 minutes. Scrub gently with a dish brush or sponge to remove stuck on food. Use a toothbrush or small scrub brush for deep grooves and textured areas. Rinse thoroughly under running water to remove all soap residue. Air dry flat on a dish rack or towel before storing or reusing.
Homemade vs Store-Bought Lick Mats: Cost, Durability, and When to Choose Each

Homemade lick mats cost less if you already own a silicone baking mat or can source food safe materials inexpensively. You control the size, texture, and design, which means you can customize the mat to fit your dog’s needs and your household setup. The trade off is durability and convenience. Store bought mats are tested, pre textured, and often come with features like built in suction cups, dishwasher safe ratings, and chew resistant designs.
Commercial options like the Lickimat Buddy, Soother, or Wobble offer varied textures engineered for different food consistencies and engagement levels. They’re ready to use out of the package and built to last through repeated freezing, dishwashing, and daily use. A DIY mat may wear out faster, especially if your dog is a heavy chewer or if the adhesive you used wasn’t rated for repeated freeze thaw cycles. If you’re testing the concept or need a budget friendly solution right now, homemade works. If you want something that holds up long term with minimal maintenance, store bought is the safer bet.
| Option | Cost | Difficulty | Durability |
|---|---|---|---|
| Homemade (silicone mat + DIY texture) | $5–$15 | Moderate (requires cutting, gluing, drying time) | Good (may wear faster with heavy use or chewing) |
| Store bought (Lickimat, SodaPup, etc.) | $10–$20 | None (ready to use) | Excellent (designed for repeated freezing and cleaning) |
| Repurposed silicone mold or trivet | $3–$10 | Easy (use as is or trim to size) | Fair to Good (depends on original material quality) |
Final Words
Grab a silicone mat, non-slip backing, and a few safe spreads, this post walks you through a quick, practical DIY method so you can make and use a lick mat today.
We covered why lick mats calm dogs, what materials to choose, how to create textures, safe ingredient ideas, freezing tips, cleaning advice, and when DIY wins over store-bought options.
If you’re ready, try the simple pumpkin-and-yogurt recipe and freeze it. Learning how to make a lick mat for dogs gives you a low-cost, calming tool your dog will love.
FAQ
Q: How to make a homemade lick mat for dogs?
A: Making a homemade lick mat for dogs involves cutting a food-safe silicone baking mat, adding textured grooves or molds, attaching a non-slip backing, spreading dog-safe treats, then letting it set or freezing for longer use.
Q: Do vets recommend lick mats?
A: Vets often recommend lick mats as calming enrichment for anxious or bored dogs, and many advise using safe spreads, cleaning between uses, and supervising dogs that mouth or chew the mat.
Q: What is good to put on a lick mat for dogs?
A: Good things to put on a lick mat for dogs include plain Greek yogurt, pure pumpkin, mashed banana, xylitol-free peanut butter, wet dog food, and blended berries, served in small portions.
Q: What kind of yogurt for dog lick mat?
A: The kind of yogurt for a dog lick mat should be plain, unsweetened Greek yogurt without artificial sweeteners like xylitol; use small amounts to avoid stomach upset.