

Think mealtime can’t be calmer and more fun?
A homemade snuffle mat does both.
It slows fast eaters, gives pets mental work, and turns treats into a soothing scent game.
You don’t need sewing skills or fancy tools.
With a rubber sink mat, fleece, and scissors you can make one in an afternoon for under ten dollars.
This post walks you through simple, step-by-step instructions so you can build a safe, washable mat your dog or cat will enjoy.
Essential Steps to Build a DIY Snuffle Mat at Home
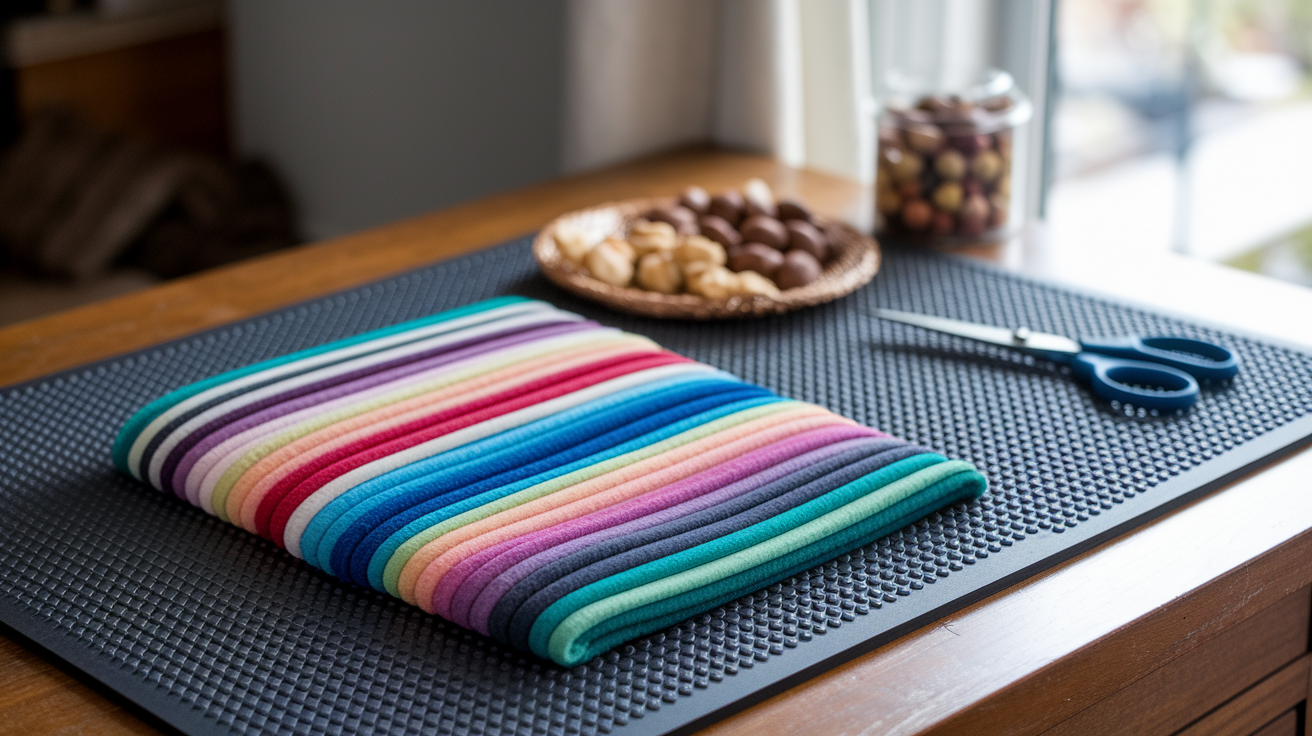
A snuffle mat is basically a fleece-covered base that hides treats or kibble inside soft fabric strips. Your dog or cat has to forage and sniff to find each piece. It slows down fast eaters, gives them mental work to do, and turns mealtime into a calming scent game. You don’t need sewing skills to make one at home.
The process is simple. Grab a rubber sink mat, some fleece fabric, and scissors. Cut the fleece into strips, tie those strips into the holes of the mat, and keep going until the surface is full and fluffy. Once you’re done, sprinkle kibble into the fleece layers and let your pet hunt for it.
Here’s how it works:
- Buy a non-skid rubber sink mat and fleece fabric or fleece throws.
- Cut fleece into short, narrow strips.
- Thread each strip through a hole in the mat from underneath.
- Tie a single tight knot on top.
- Fill the entire mat with strips until it’s dense.
- Flip the mat over and check for any holes where kibble could slip through.
- Run your fingers through the strips to create hiding spots and add treats.
- Supervise your pet during use and wash the mat when it gets dirty.
This project is beginner friendly and takes a few hours, mostly spent cutting fabric. Most mats cost under $10 to make using dollar store materials. You can customize size, color, and density to fit your pet and budget.
Materials Needed for a Fleece Snuffle Mat Project

The main thing you need is a non-skid rubber sink mat or perforated plastic placemat. Look for open grid mats with small holes, not solid foam. Foam bases tear easily and hold moisture. Rubber or bendable plastic mats hold up better in the wash and won’t fall apart after a few uses.
For fabric, plan on 1.5 to 2 yards of fleece. Thicker fleece requires closer to 1.5 yards, thinner fleece needs about 2 yards. Dollar store fleece throws sold for around $3 each work great and keep the total project cost around $7 to $10. If you prefer yardage from a fabric store, clearance fleece at about $3 per yard is a solid budget option.
You’ll need:
- Non-skid rubber or plastic sink mat (look for open grid design, not foam)
- 1.5 to 2 yards of fleece fabric or 2 to 3 inexpensive fleece throws
- Sharp scissors or rotary cutter
- Metal straight edge or ruler
- Self healing cutting mat (optional, makes cutting faster and cleaner)
- 3 plastic zip ties if joining two mats for a large design
Cutting Fleece Strips for a Snuffle Mat Build
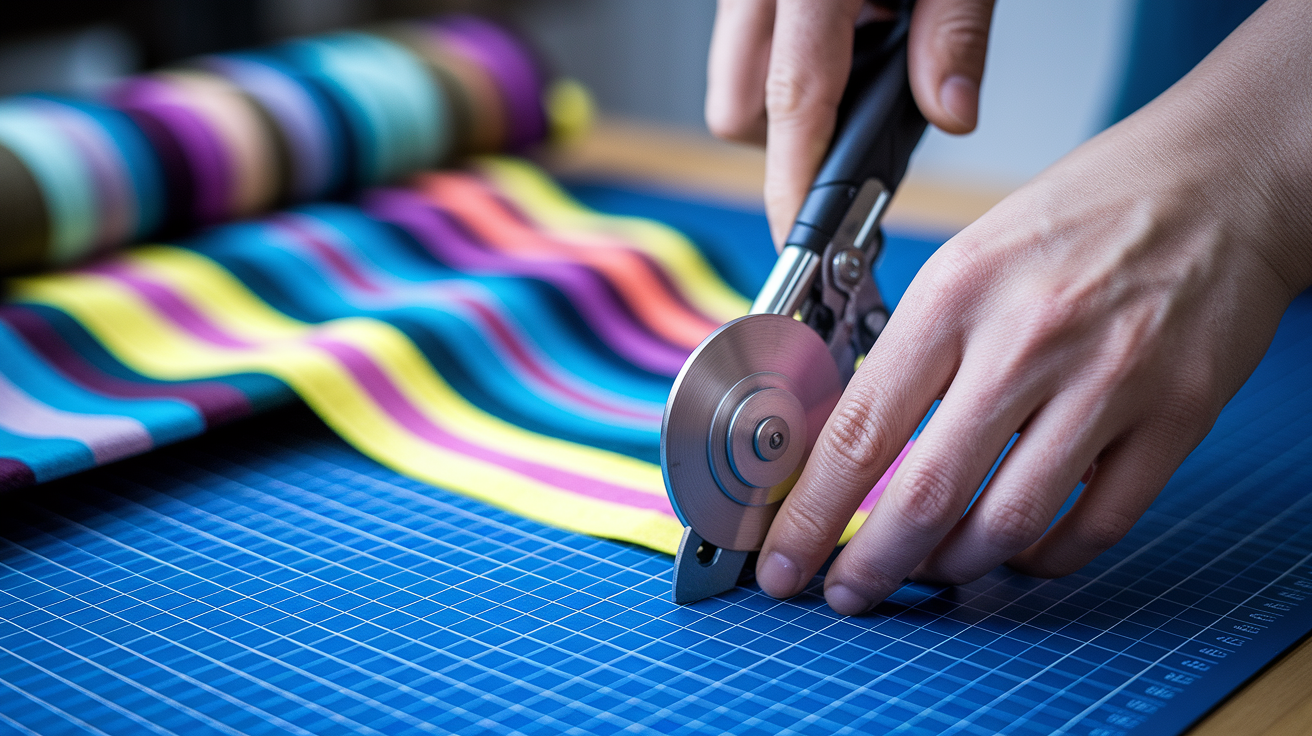
Fold your fleece lengthwise twice so you’re working with four layers. Measure and cut the folded fabric into sections 6 to 7 inches wide. Then slice those wide sections into 1 inch wide strips. You’ll end up with strips about 6 to 7 inches long and 1 inch wide. Toss any pieces shorter than 6 inches or save them for smaller craft projects. Cutting across the folded fabric speeds things up and keeps strip lengths consistent.
If you’re using thinner fleece or dollar store blankets, you can stack two layers at once and cut through both. A rotary cutter, straight edge, and self healing mat make the job faster and more precise than scissors alone. But basic sharp scissors work fine. The cutting step is the most time consuming part, plan for an hour or two depending on how much fleece you’re processing.
| Strip Width | Strip Length | Notes |
|---|---|---|
| 1 inch | 6 to 7 inches | Standard measurement; works for most mat bases and fleece thicknesses |
| 1 to 2 inches | 6 to 8 inches | Slightly longer strips create deeper hiding spots; adjust based on your mat grid size |
| 1 inch | 10 inches | Alternative longer strip used in some tutorials; may need to fold or loop through holes twice |
Tying Techniques to Assemble a Durable Snuffle Mat
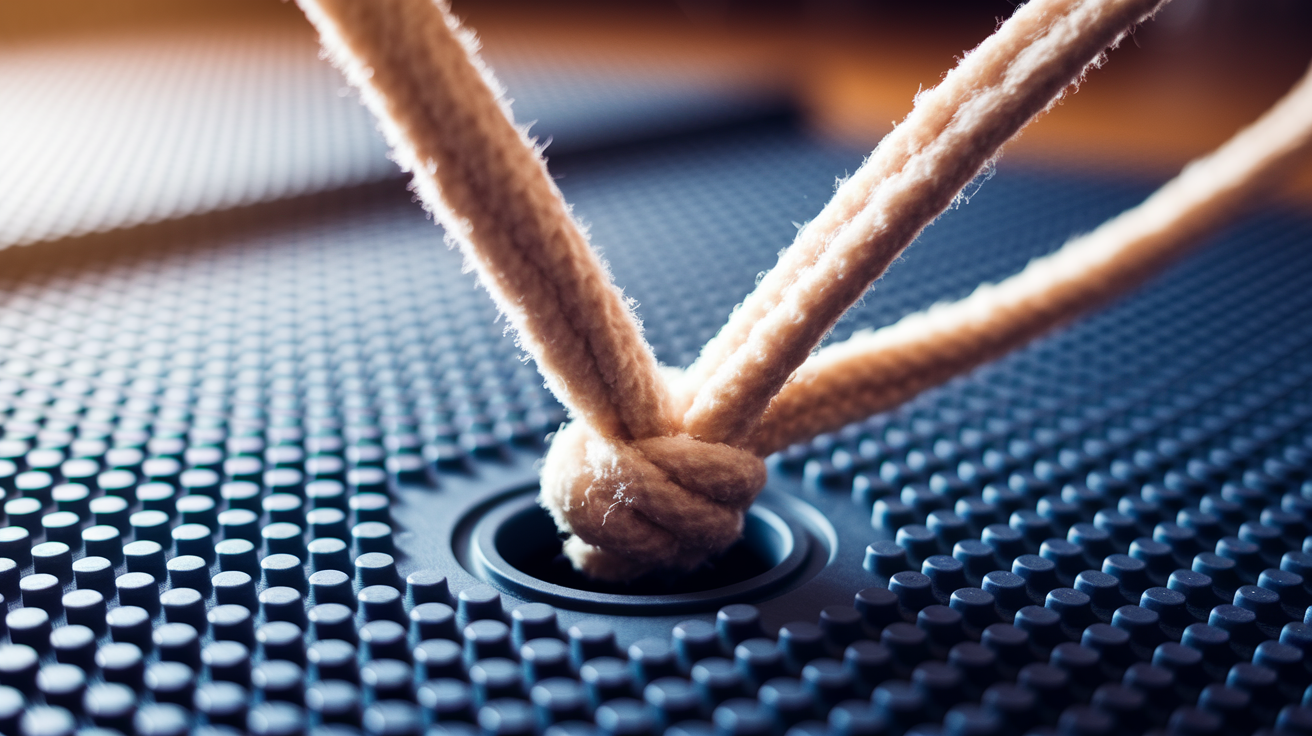
Take one fleece strip and push it through a hole in the mat from underneath so both ends come up on top. Pull the ends tight and tie a single overhand knot. Pull the knot snug against the mat surface. You don’t need a double knot. A tight single knot holds just fine and is easier to undo if you need to replace a strip later.
Work across the mat one row at a time. If your fleece is thick, you may only need one strip per hole. Thinner fleece may require two strips per hole or strips threaded through adjacent holes to build up density. One example mat used 175 strips total. Start with a small test section, tie about a dozen strips in one corner, flip the mat over, and check coverage. If the fleece looks sparse or you see gaps, add more strips or tie them closer together.
Before you fill the entire mat, flip it upside down and inspect for any openings where kibble could slip through to the floor. If you spot a gap, thread an extra strip through that area or adjust your tying pattern. Once the mat is full, run your fingers through the strips to fluff and separate them. The goal is a dense, soft surface with lots of hiding spots and no visible holes.
Snuffle Mat Size Options and Measurements Guide
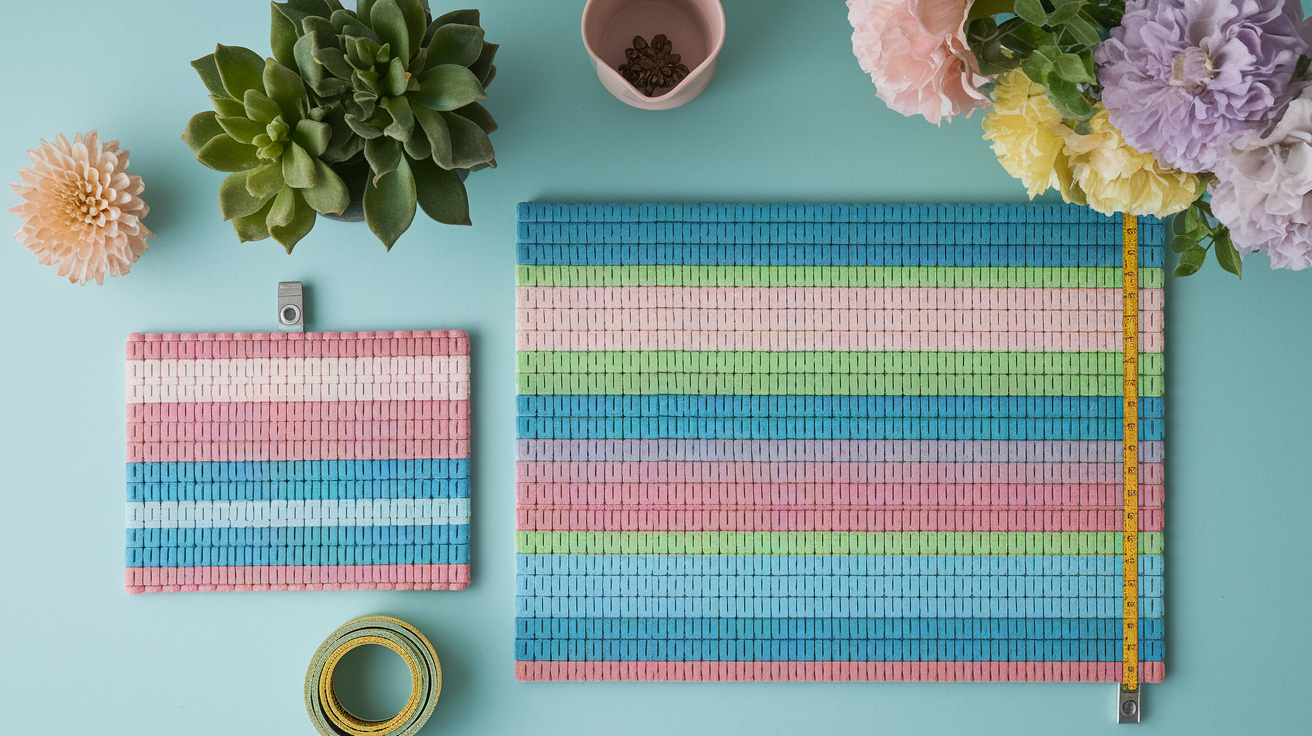
A single rubber sink mat makes a small to medium snuffle mat, perfect for dogs under 50 pounds or for cats. For larger dogs or households with multiple pets, join two sink mats side by side using three plastic zip ties. One at the top, one in the middle, and one at the bottom. Trim the zip tie tails close and cover each tie with fleece strips and knots so no sharp edges stick out.
Common size and base options:
- Single mat (one sink mat): about 12 by 15 inches, good for small or medium pets, uses roughly 1 to 1.5 yards of fleece
- Large mat (two mats joined): about 24 by 15 inches or similar, suitable for large dogs or multi pet use, needs closer to 2 yards of fleece
- Alternative bases: wire cooling racks, perforated placemats, or rubber bar mats (all washable and durable)
- Temporary option: cardboard with holes punched (not washable, degrades over time, fine for a prototype)
Strip lengths between 6 and 10 inches are standard. Shorter strips (6 to 7 inches) create a tighter, more compact surface. Longer strips (8 to 10 inches) give deeper pockets and more movement, which some dogs enjoy shaking and digging through. Adjust based on what your mat base allows and how dense you want the final product.
Pattern Ideas and Creative Designs for Fleece Snuffle Mats
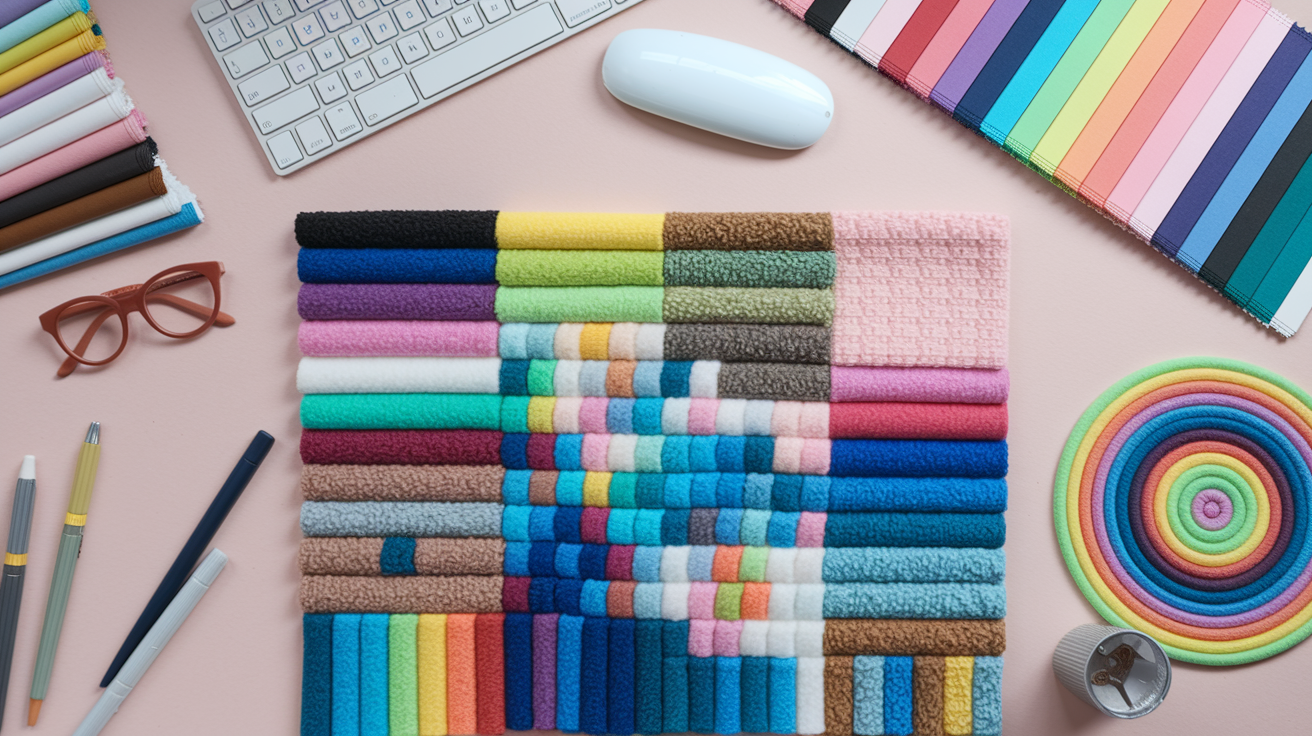
You can make your mat in a single solid color or mix colors for stripes, blocks, or random patterns. One popular option is alternating rows of two colors. Blue and orange fleece creates a bright contrast that’s easy to photograph and fun to look at. If you have leftover fleece scraps from other projects, this is a great way to use them up.
Try varying strip density across the mat. Tie strips tightly in one section for a dense challenge zone, and space them farther apart in another section for easier foraging. Some makers layer different fleece thicknesses or textures to add variety. Around holidays, you can theme your mat with seasonal colors or add a few novelty fleece prints.
Design ideas to try:
- Two tone stripes: alternate colors row by row
- Rainbow or multi color blocks: use leftover scraps in different shades
- Seasonal themes: red and green for winter, pastels for spring
- Texture mix: combine standard fleece with minky or sherpa fleece in a few sections
- Personalized initials or shapes: plan a simple letter or heart pattern using colored strips
Using Your Snuffle Mat for Treat-Based Enrichment
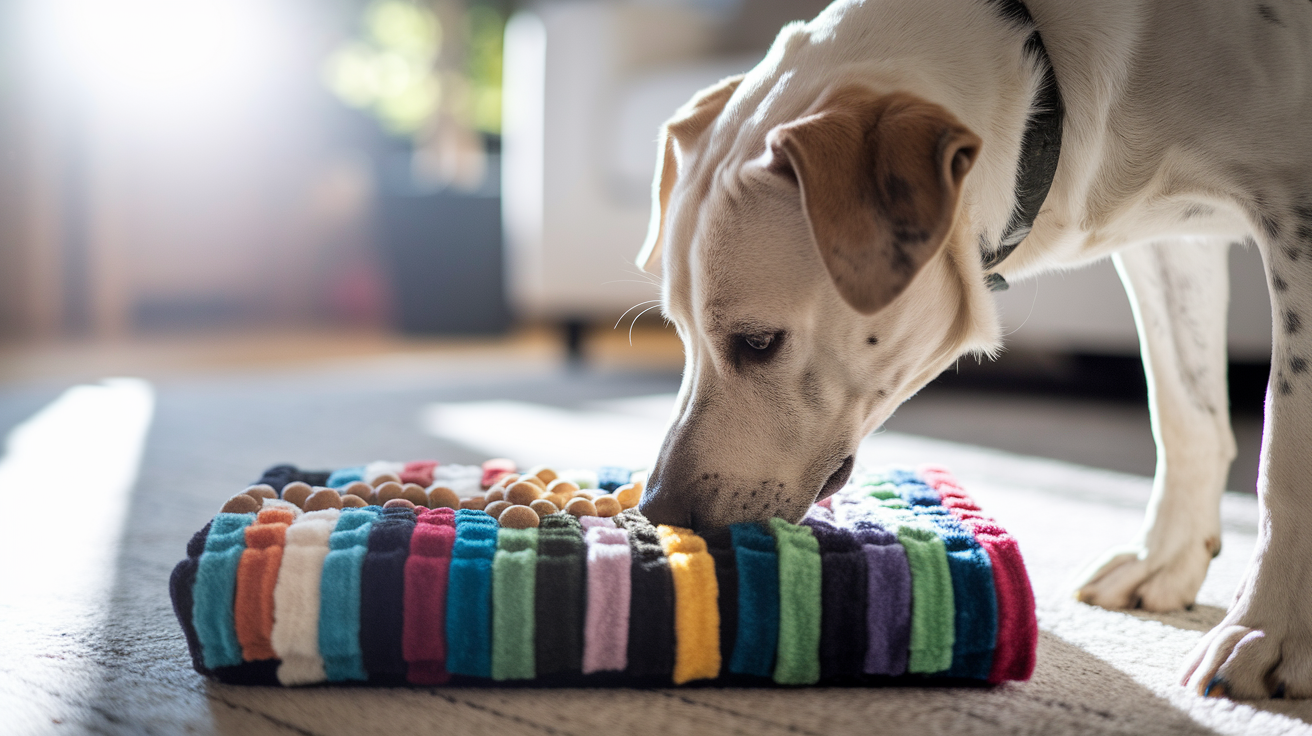
Spread your fingers through the fleece strips to open up hiding spots, then sprinkle dry kibble or small treats across the mat. Start with treats sitting visibly on top of the fleece for dogs or cats new to the game. Once your pet understands the idea, tuck treats deeper between the strips so they have to sniff and dig to find each piece.
Different pets approach snuffle mats in different ways. Some dogs methodically work across the mat row by row. Others dive in with their paws, flipping and shaking the strips. Cats often pat and nudge the fleece gently. All of these behaviors are normal and part of the enrichment. Supervise the first few sessions to make sure your pet isn’t trying to chew or swallow the fleece itself.
Tips for getting the most out of it:
- Use dry, low crumb treats or plain kibble to avoid mess and mold.
- Start with visible treats on top, then hide them deeper as your pet learns.
- Run your fingers through the mat before each session to refresh hiding spots.
- Limit sessions to 10 to 15 minutes to keep the activity novel and engaging.
- Store the mat out of sight between uses so it stays interesting and doesn’t become background furniture.
Cleaning and Maintaining a Fleece Snuffle Mat
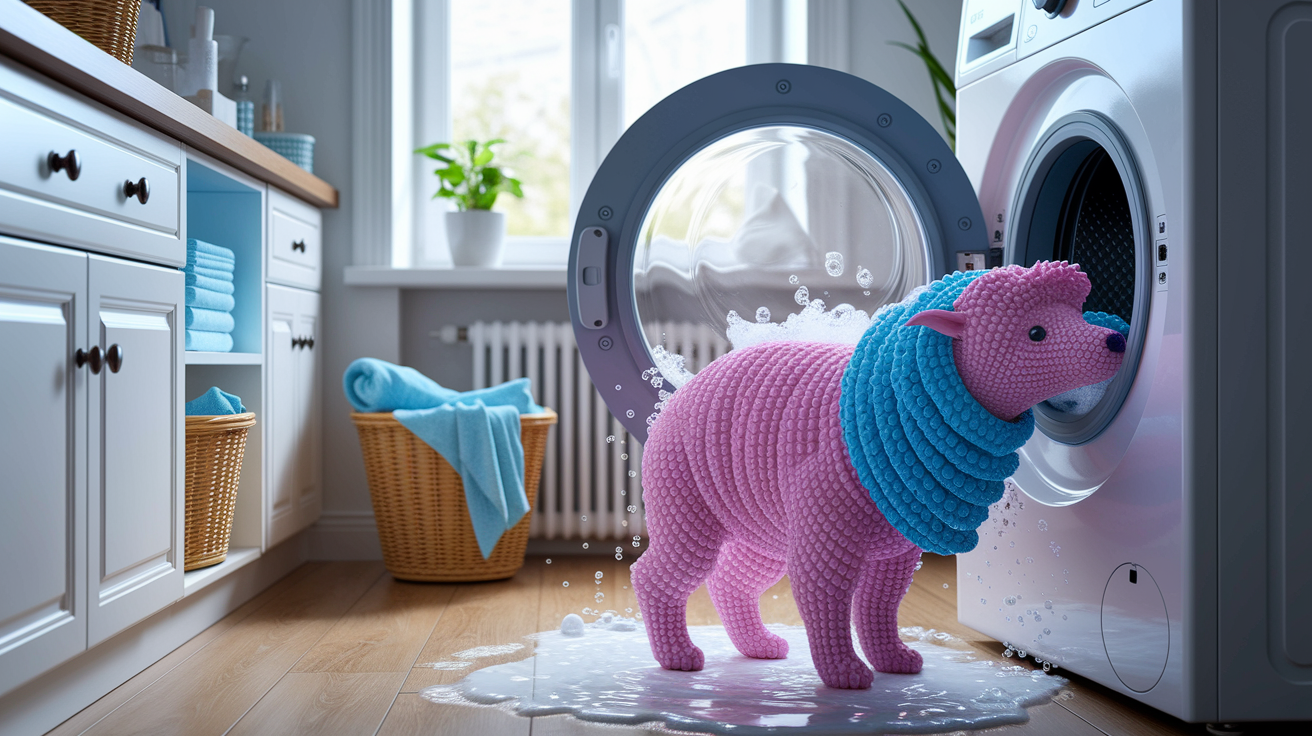
When the mat gets dirty or starts to smell, toss it in the washing machine on a gentle cycle with pet safe detergent. Some tutorials recommend hand rinsing in warm water with non-toxic soap, especially if you’ve joined two mats with zip ties. Either way, always air dry the mat. Machine drying can tangle the strips, loosen knots, or damage the rubber base.
After washing, shake out the mat and fluff the fleece strips. Check each section for any knots that came loose during the wash. If a strip falls out or frays, pull it free and tie in a fresh piece. Regular inspections keep the mat safe and functional. If you notice the rubber base starting to crack or tear, it’s time to retire that base and build a new mat.
Avoid foam bases entirely. Foam holds moisture, tears easily, and can break into chunks that become choking hazards. Rubber and bendable plastic mats last longer, dry faster, and hold up to repeated washing. If you used zip ties to join two mats, check those ties every few washes. Replace any that look worn or sharp.
Maintenance checklist:
- Shake and inspect the mat after each use for loose strips or debris
- Wash when visibly dirty or every few weeks with regular use
- Air dry completely before the next session
- Replace any torn, frayed, or missing fleece strips promptly
Safety Considerations When Making and Using a Snuffle Mat
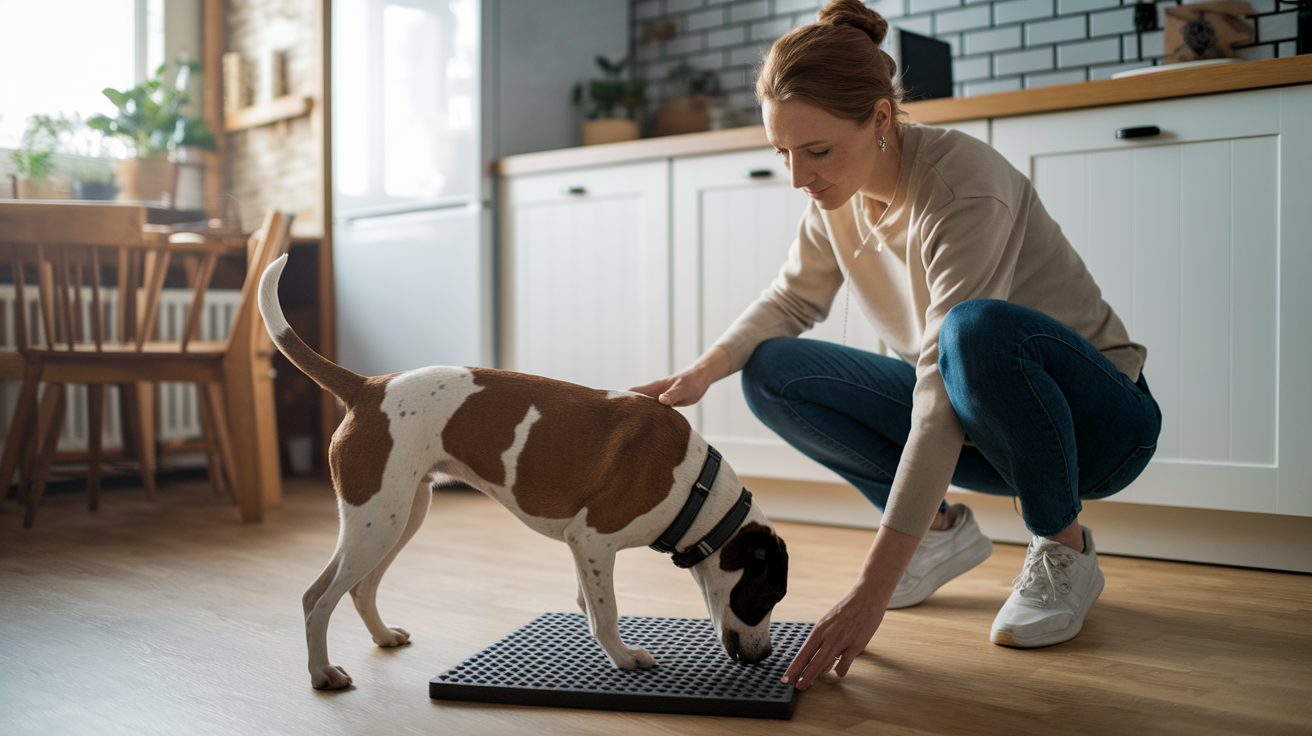
Always supervise your pet while they use a snuffle mat, especially during the first few sessions. If your dog or cat starts chewing, pulling, or swallowing fleece pieces, remove the mat immediately and don’t give it back. Some pets treat the mat like a toy to destroy rather than a foraging tool. That’s a sign the snuffle mat isn’t the right enrichment option for that individual.
Flip your finished mat upside down before loading it with treats. Look for any gaps or holes where kibble could slip through onto the floor. If you spot openings, tie extra strips in those areas or adjust your knotting pattern. When joining two mats with zip ties, always trim the sharp tail ends close and cover each tie with fleece knots so your pet can’t scratch or cut their nose or paws.
Safety reminders:
- Supervise all snuffle mat sessions, especially with new users or known chewers
- Remove and retire the mat if your pet tears off or swallows fleece pieces
- Use a rubber or plastic base, never foam, which degrades and creates choking hazards
- Check for and cover any exposed zip tie ends with fleece strips
- Inspect the mat weekly for loose knots, frayed fabric, or damaged base sections
Cost Comparison: DIY Snuffle Mat vs Store-Bought
A homemade snuffle mat costs about $7 to $10 in supplies if you use dollar store fleece throws and a basic rubber sink mat. One yard of clearance fleece from a fabric store runs around $3, and mats are typically $1.25 to $2 each. Two fleece throws at $3 each plus one or two sink mats brings the total to under $10 for a large, customizable mat. Store bought snuffle mats often sell for $20 to $40 or more, depending on size and brand.
The DIY version lets you control size, density, color, and fabric quality. You can make a small mat for a cat or puppy in an hour, or a large double mat for a big dog in an afternoon. If a section wears out, you replace a few strips instead of the whole product. Homemade mats are also easy to wash, repair, and adjust as your pet’s needs change. For budget conscious pet parents or anyone who likes hands on projects, the DIY route is a practical, low commitment option that delivers the same enrichment benefits as commercial versions.
Final Words
Grab your mat and fleece and get going: this post walked you through the fast roadmap—what supplies to buy, how to cut strips, tie them through a non‑skid rubber sink mat with overhand knots, and finish with safety and cleaning checks.
We also covered size choices, pattern ideas, using the mat for treat-based play, and why a DIY option often costs under $10.
If it feels doable, set aside a few hours and try it. This shows how to make a snuffle mat that’s safe, washable, and lots of fun for your pet.
FAQ
Q: How to make a homemade snuffle mat for dogs?
A: A homemade snuffle mat for dogs is made by using a non‑skid sink mat base, cutting fleece into 1‑inch strips, threading and tying overhand knots through the holes, then hiding treats for play.
Q: What can I use for the base of a snuffle mat?
A: The base for a snuffle mat can be a non‑skid rubber sink mat; without one, use plastic canvas (needlepoint mesh), PVC mesh, or a plastic shelf liner—avoid foam and secure joins with zip ties.
Q: What kind of fabric do you use for a snuffle mat?
A: The fabric used for a snuffle mat is typically fleece—thin fleece blankets or polar fleece work best because they don’t fray, wash easily, and make soft, durable strips for hiding treats.